
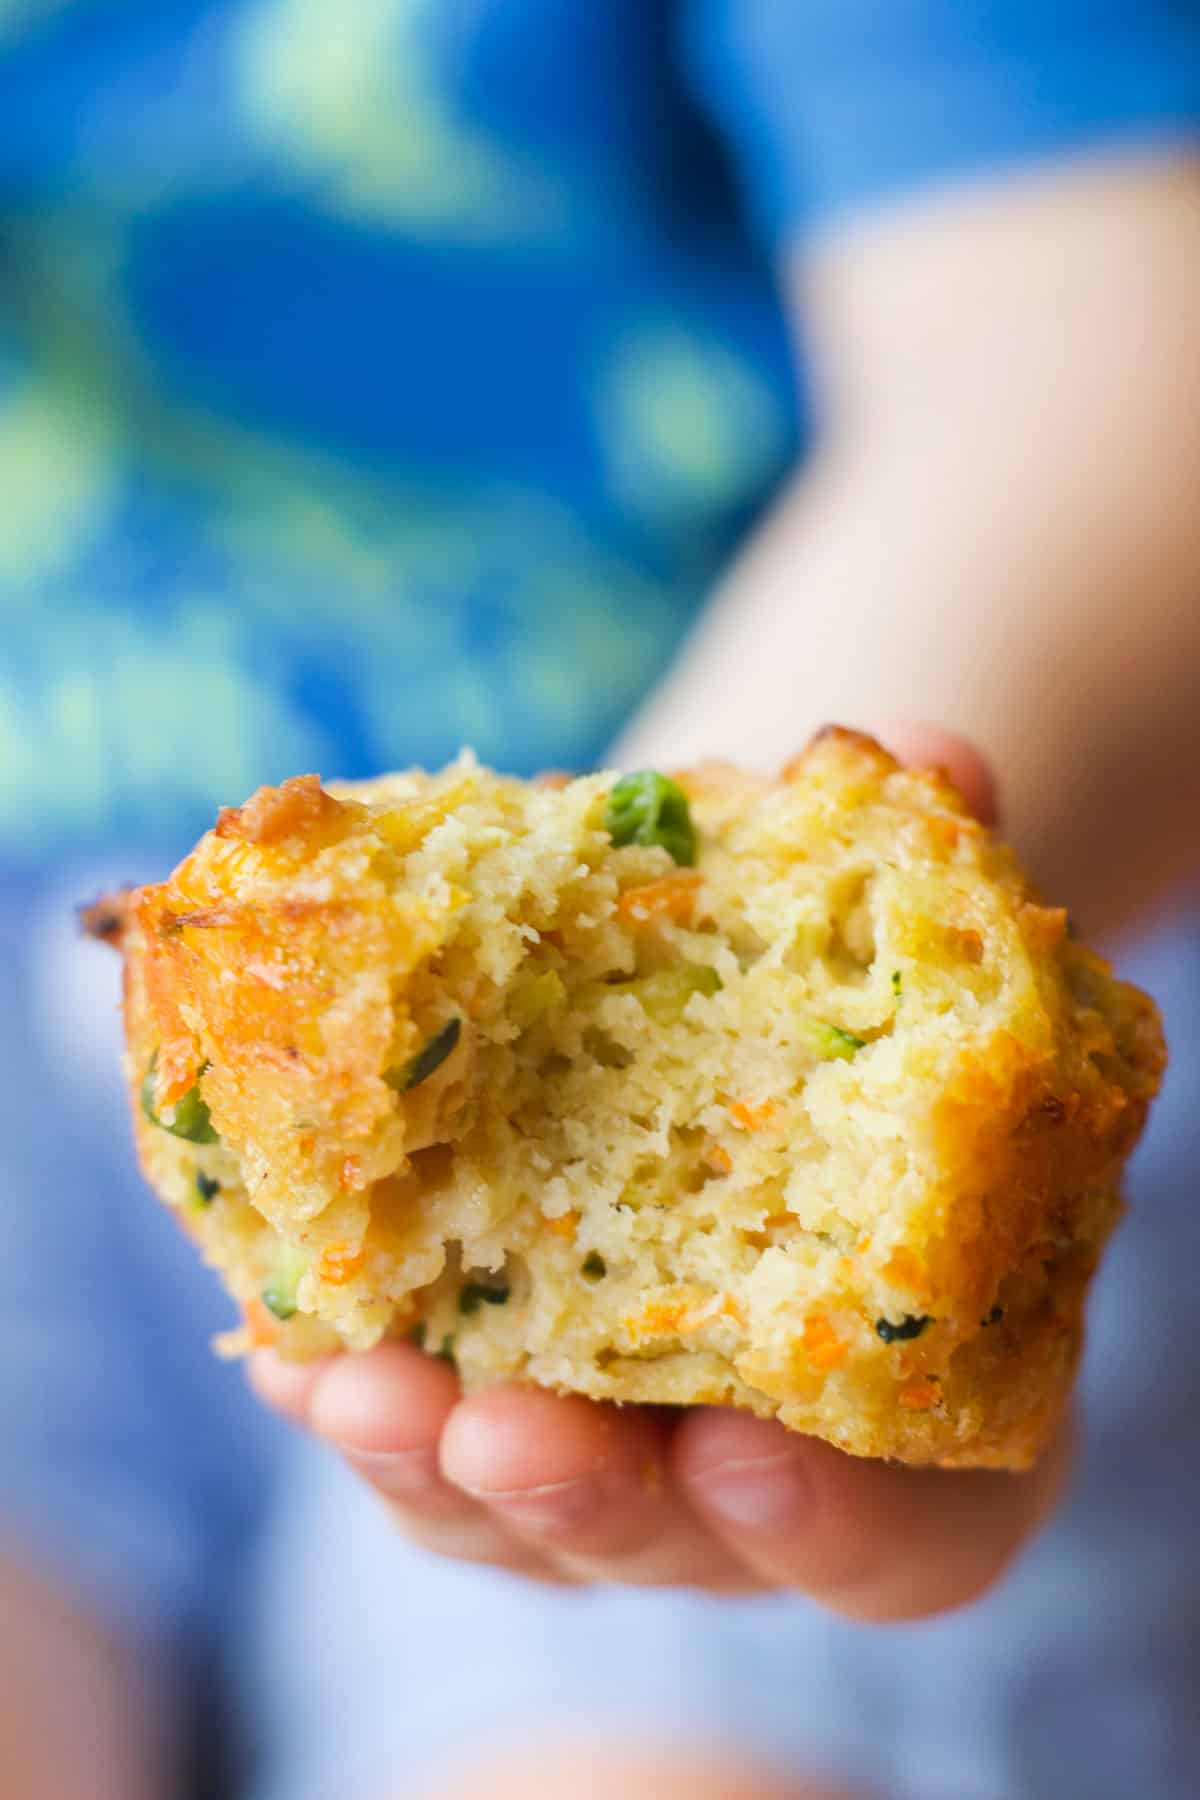
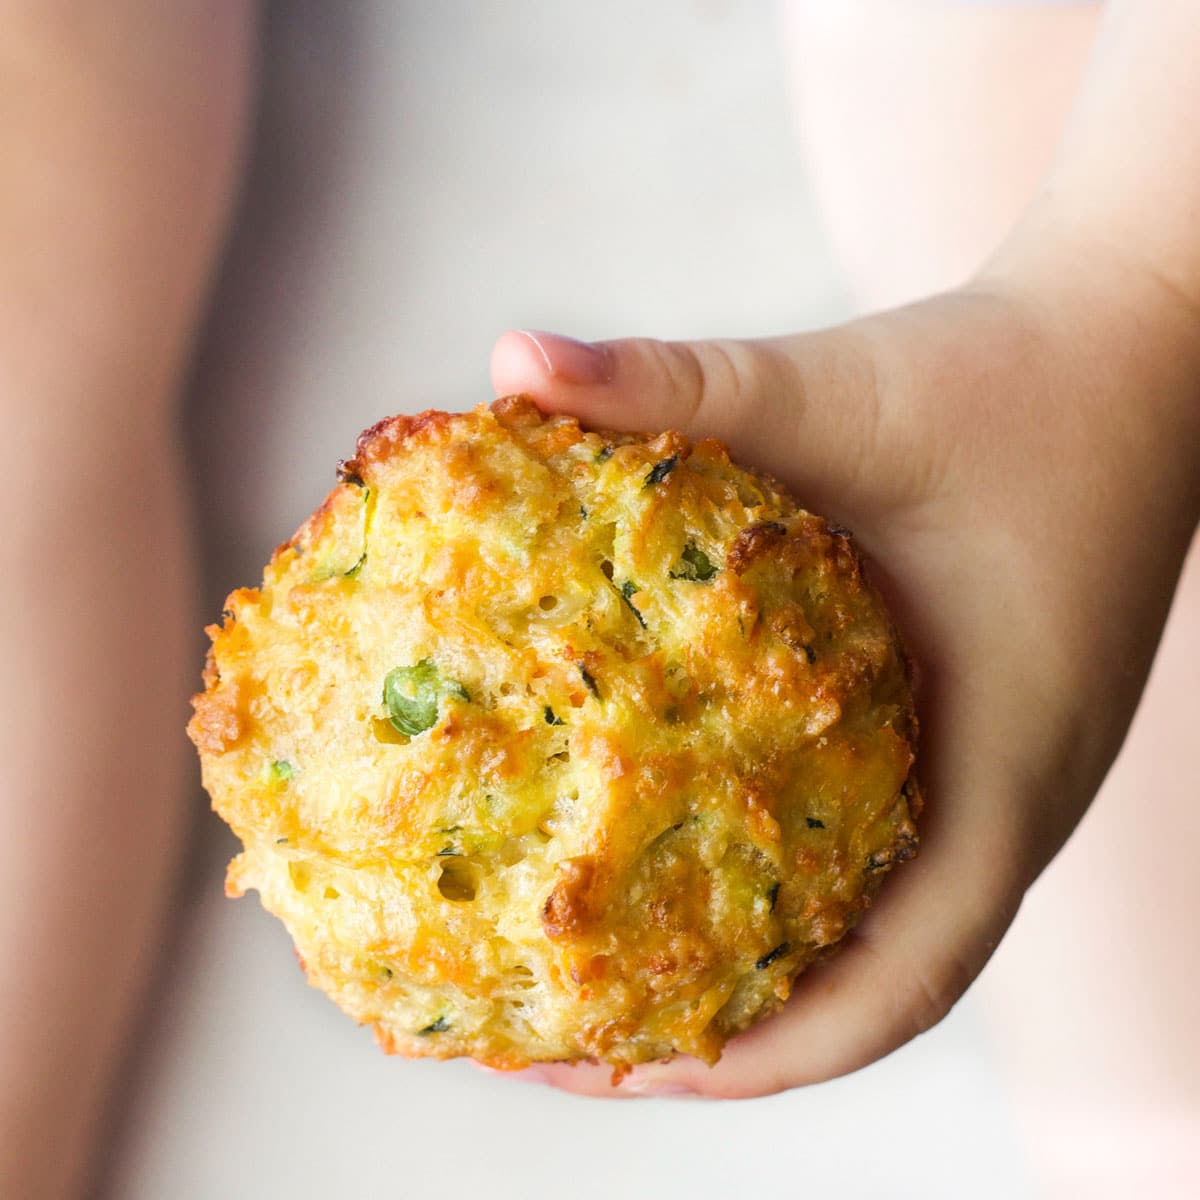
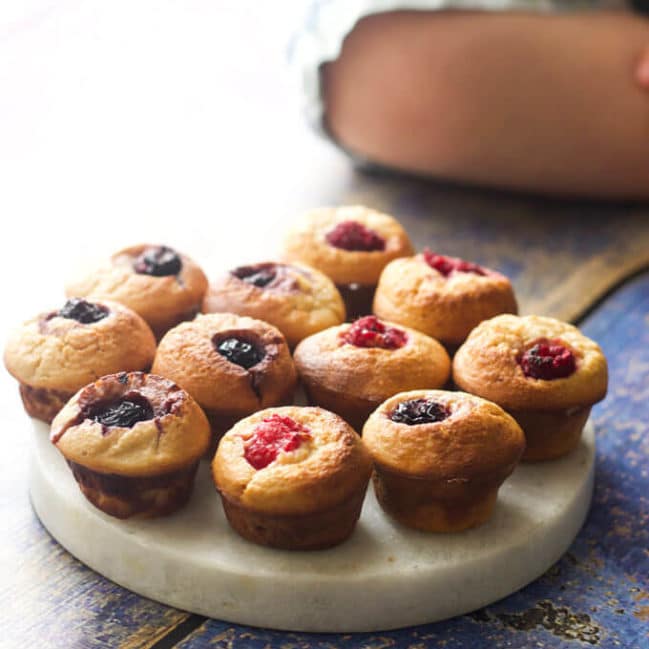
Quick and easy Savoury Muffins made with four different veggies. Easy to customise and perfect for breakfast, school lunch boxes, served with soup, or warm and butter-kissed.
Jump to:
Reasons to Love These Muffins
- Veggie Goodness: These muffins include a rainbow of veggies - zucchini, carrot, peas and corn. For those seeking different ways to add veggies, these muffins are a delightful solution.
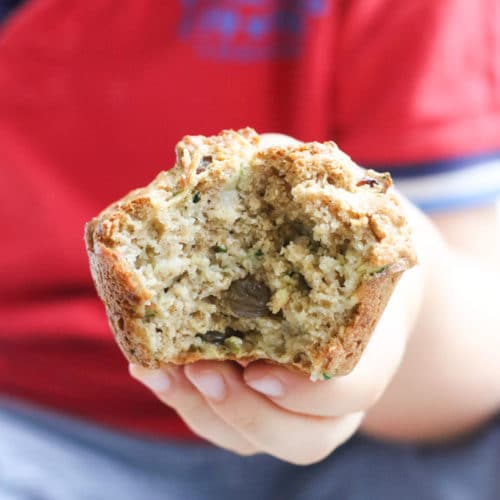
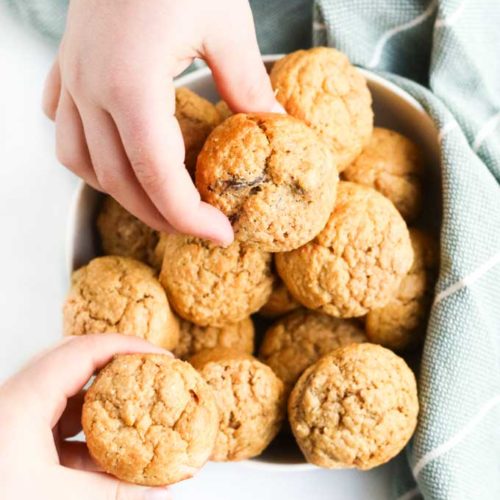
- Portable: From hurried breakfasts to lunchbox essentials and on-the-move snacks, these vegetable muffins are great for your busy routine. Their handheld appeal makes them a hit with young kids too.
- Versatile: There are endless possibilities with these muffins. Customise them to match your preference or pantry items. Experiment by swapping veggies, adding herbs, or enhancing flavours with diced cooked ham or bacon.
- Freezer Friendly: Prepare a double batch and freeze. Whenever hectic mornings or afternoons strike, a quick reheat gives you a nutritious snack without the fuss.
Video Tutorial
Ingredient Information (and Alternative Suggestions)
For the full recipe, with ingredient amounts, scroll to the recipe card at the bottom of the post.
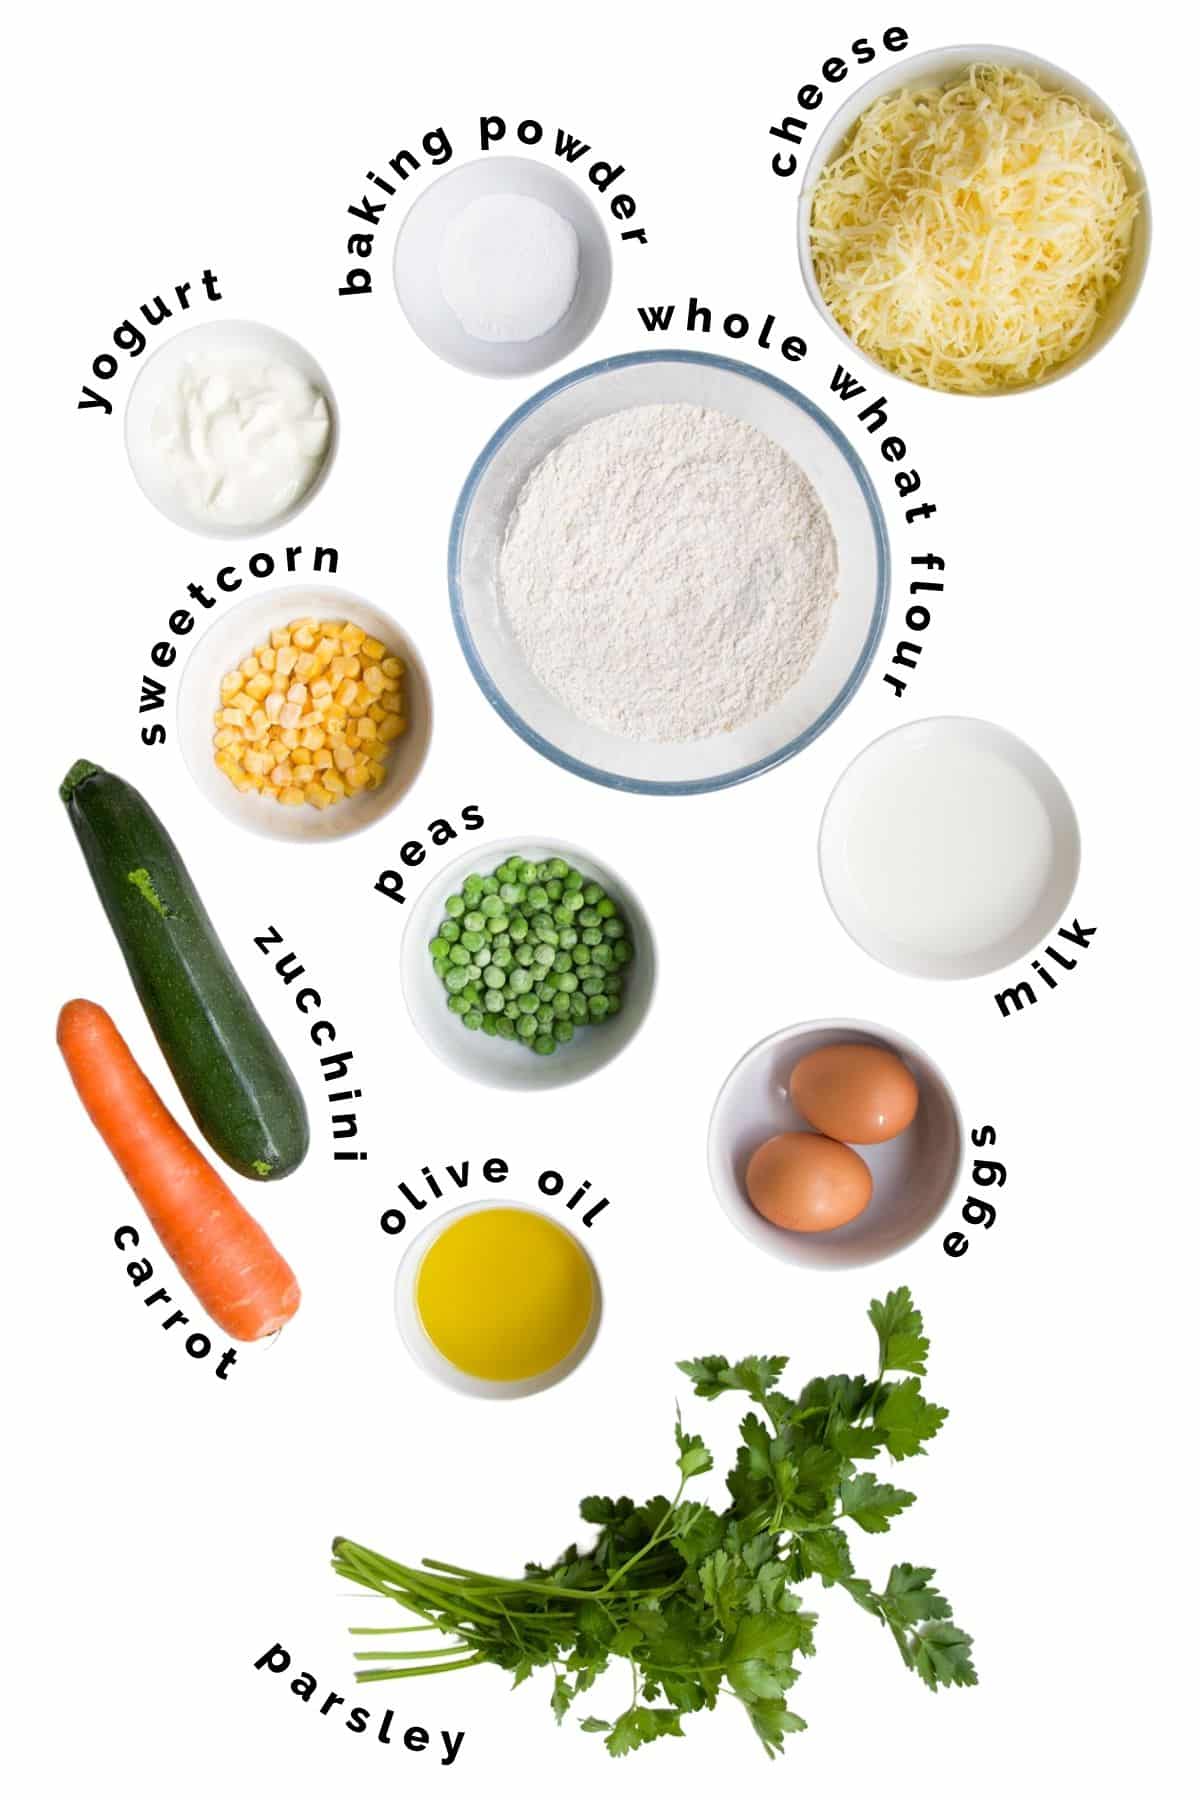
- Zucchini and Carrot: Boosts flavour, moisture and nutrients. Grated for easy incorporation without pre-cooking.
- Corn and Peas: Introduces colour, texture, nutrition and a hint of sweetness.
- Cheese: Amplifies flavour. I typically use mature cheddar as it adds great flavour with less cheese. However, any melting, flavourful cheese works. For dairy free you can skip the cheese but you will want to up the flavour with herbs, salt (skip for baby) and/or nutritional yeast.
- Milk: Adds moisture and flavour. Swap with non-dairy milk or the veggie liquid for dairy-free.
- Yogurt: Maintains lightness and moisture while adding protein and fat. For dairy free, replace with extra olive oil
- Parsley: For flavour, can be skipped or replaced with other herbs.
- Olive Oil: Helps keep the muffins moist and adds a healthy dose of good fats.
- Eggs: Enriches texture, structure, and richness. For egg-free, consider a flax egg replacement. (not tested).
- White Whole Wheat Flour (Wholemeal): I used Australian white wholemeal flour, which has a lighter colour and a more refined appearance compared to the UK version I was accustomed to. Less processed options might yield denser muffins. All-purpose flour (plain flour) or a blend of whole wheat/all-purpose can also be used.
- Baking Powder: Leavens for a light texture.
Alternative Add-In Suggestions
These savoury muffins are easy to adapt and there are many great additions you could try -
- Different vegetables (such as finely chopped bell pepper, chopped spinach, finely chopped and lightly fried green onions, shallots, mushrooms, celery or leek.
- Sun-dried tomatoes
- Olives
- Bacon, ham or chorizo.
- Fresh herbs
- Dried Italian Herbs
- Garlic powder
Step By Step Instructions
This section features step-by-step photos for visual reference. The complete recipe can be found by scrolling to the recipe card at the bottom of the post.
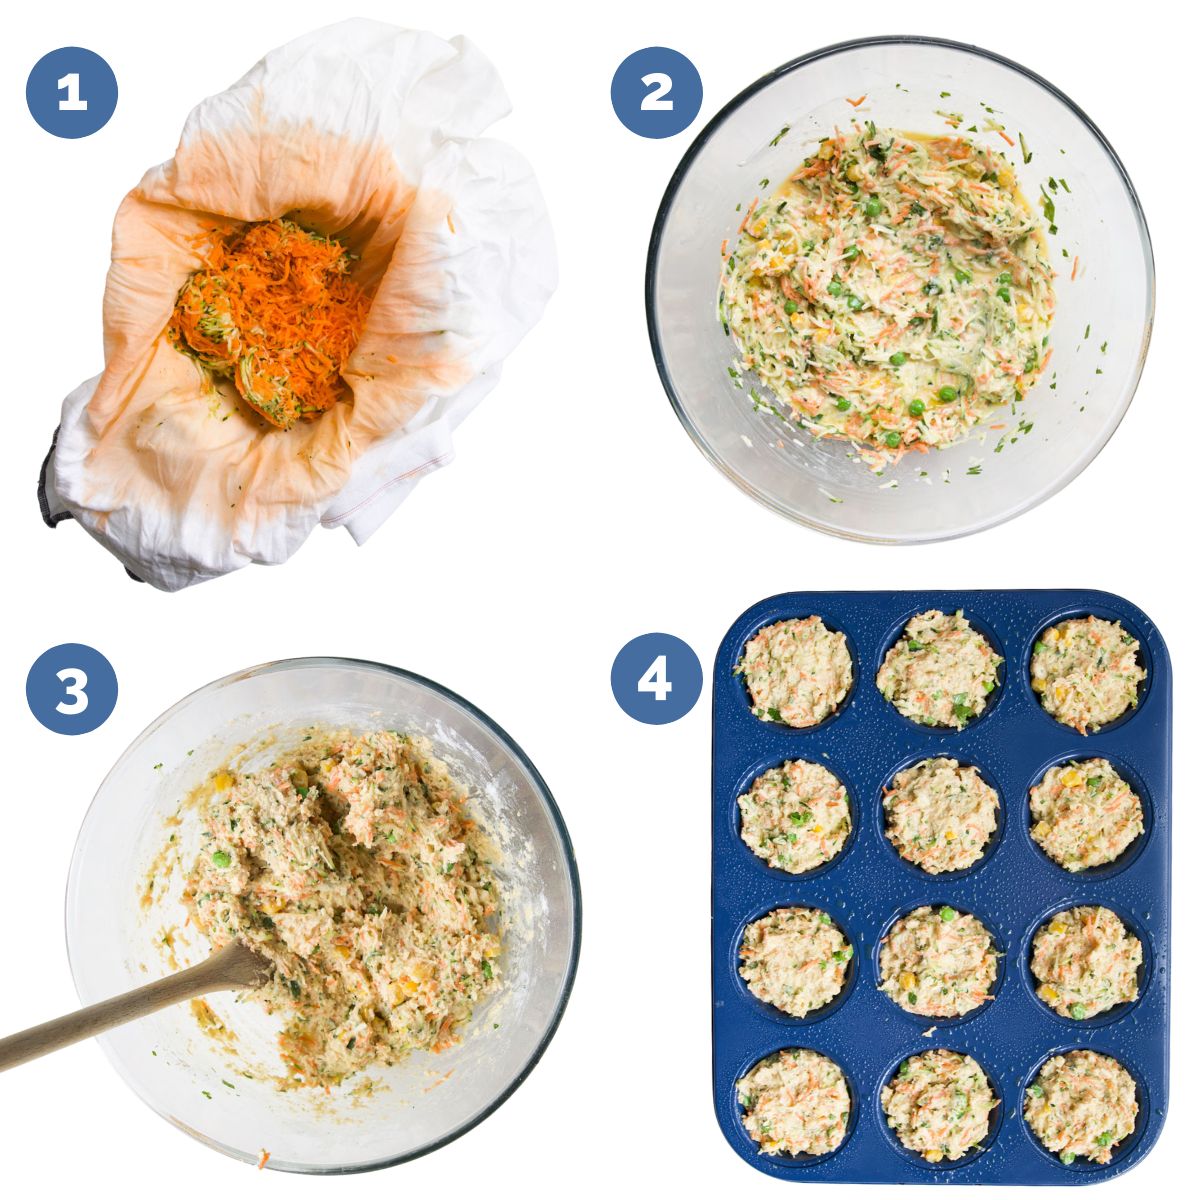
- Wrap grated zucchini and carrot in a clean dish towel, then squeeze out the excess liquid.
- Combine Wet Ingredients: In a large mixing bowl, add the zucchini, carrots, peas, sweetcorn, grated cheese, milk, yogurt, olive oil, and egg. Mix until combined
- Combine Wet & Dry Ingredients: Add the baking powder to the flour and gently combine. Gradually add the dry ingredients to the wet until just combined.
- Grease a 12-hole muffin tray with oil or butter. Equally distribute the muffin batter into the sections. I use and ice-cream scoop. Bake for 20-25 minutes.
Cooking Tips
Here are my tips to help make light, fluffy and delicious vegetable muffins.
- Ensure to squeeze out the juice from the grated carrots and zucchini. I do this by placing the grated vegetables onto a clean tea towel and squeezing it as hard as I can! I have made these muffins without doing this and they were a little too wet inside.
NOTE: Save the juice and use it in smoothies or sauces - don't throw away all that goodness! - Don't over stir the mixture. Resist the temptation to over stir or beat the batter, it will cause your muffin to go tough. You want the final mixture to be lumpy, thick and looking very messy. It should only take around 10 strokes with your wooden spoon.
- Don’t skimp on the veggies. If your child doesn't like one of the vegetables, don't just leave it out. Add extra of the other vegetables or replace it with a different one. These muffins are so much better with a bit of veggie in every bite.
- Grease the muffin pan really well before adding the batter. I have baked these with muffin cases and without. I got better results without cases. Often I found the muffins stuck to the cases but if you use a nonstick pan and grease it well the muffins are easy to remove. If you prefer to use paper muffin cups, I would recommend greasing them with oil spray before putting the batter in. Alternatively, you could try silicon muffin cases.
- Keep an eye on the baking time. Take the muffins out of the oven too soon and they will be sticky and uncooked. Bake them too long, and you run the risk of dry muffins. Every oven is different, so while you should still follow the bake time in this recipe, use a skewer to test your muffins a couple minutes before the end of the bake time. Your skewer will come out clean if they are ready.
Storage Instructions
Here are my top tips for storing muffins:
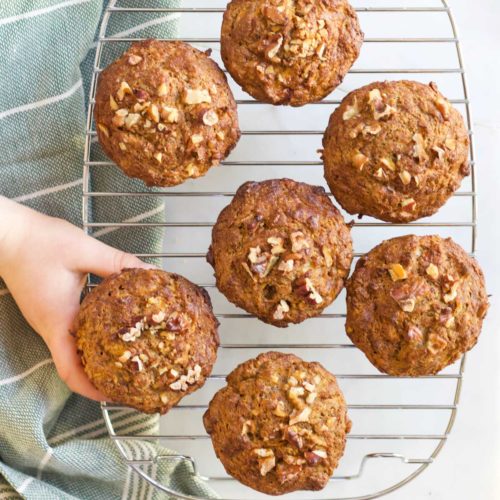
- Let your muffins cool completely on a wire rack. Before storing your muffins, it is important to allow them to properly cool. Allow your savoury muffins to cool in the muffin tray for around 5-7 minutes. If you leave them in the pan too long they run the risk of going soggy, you just want them to be firm enough to transfer to a wire rack.
- Once on the cooling rack, the muffins should be left to cool completely before storing. Storing the muffins when they are even a little bit warm will result in condensation and soggy muffins.
- Decide on how long and where you want to store your muffins My favourite way to store savoury muffins is to freeze them, and if properly frozen they will be good for around 2-3 months (but will remain safe to eat well past that). To ensure the best quality, individually wrap the muffins in clingfilm or foil and then transfer to ziplock bags or freezer containers.
- To reheat – just pop them out of the freezer and place them back in the muffin tin. Reheat at 170c /350f until heated through. Alternatively, allow them to thaw and then reheat them in the microwave.
- You can refrigerate muffins, but it isn't recommended. Refrigeration temperatures alter the texture of the muffin and can make them go stale quicker.
- Storing at room temperature is better than refrigeration when it comes to muffin quality. The best way to store them is to line an airtight container with kitchen paper, pop the muffins on top and then another layer of kitchen paper, before adding the lid. The paper absorbs the moisture from the muffins, stopping them from going soggy. It is hot and humid here, at the moment, so I only store the muffins at room temperature the day I bake them, the rest I always freeze.
Recipe FAQs
Yes, these muffins are suitable for baby-led weaning, but with certain precautions and adjustments. They can be introduced to babies that have already experimented with finger foods and are developmentally ready (6 months +).
These muffins contain common allergens like wheat, dairy and eggs. Before offering the muffins, ensure your baby has safely tried each individual allergen separately.
Mash or smash the peas and corn to reduce choking hazards.
This recipe contains less cheese than many savoury muffin recipes but you may wish to further reduce the cheese amount to lower sodium levels (read more about salt for babies). You can replace the lost flavour with fresh or dried herbs.
As with all foods, always closely supervise your baby when eating.
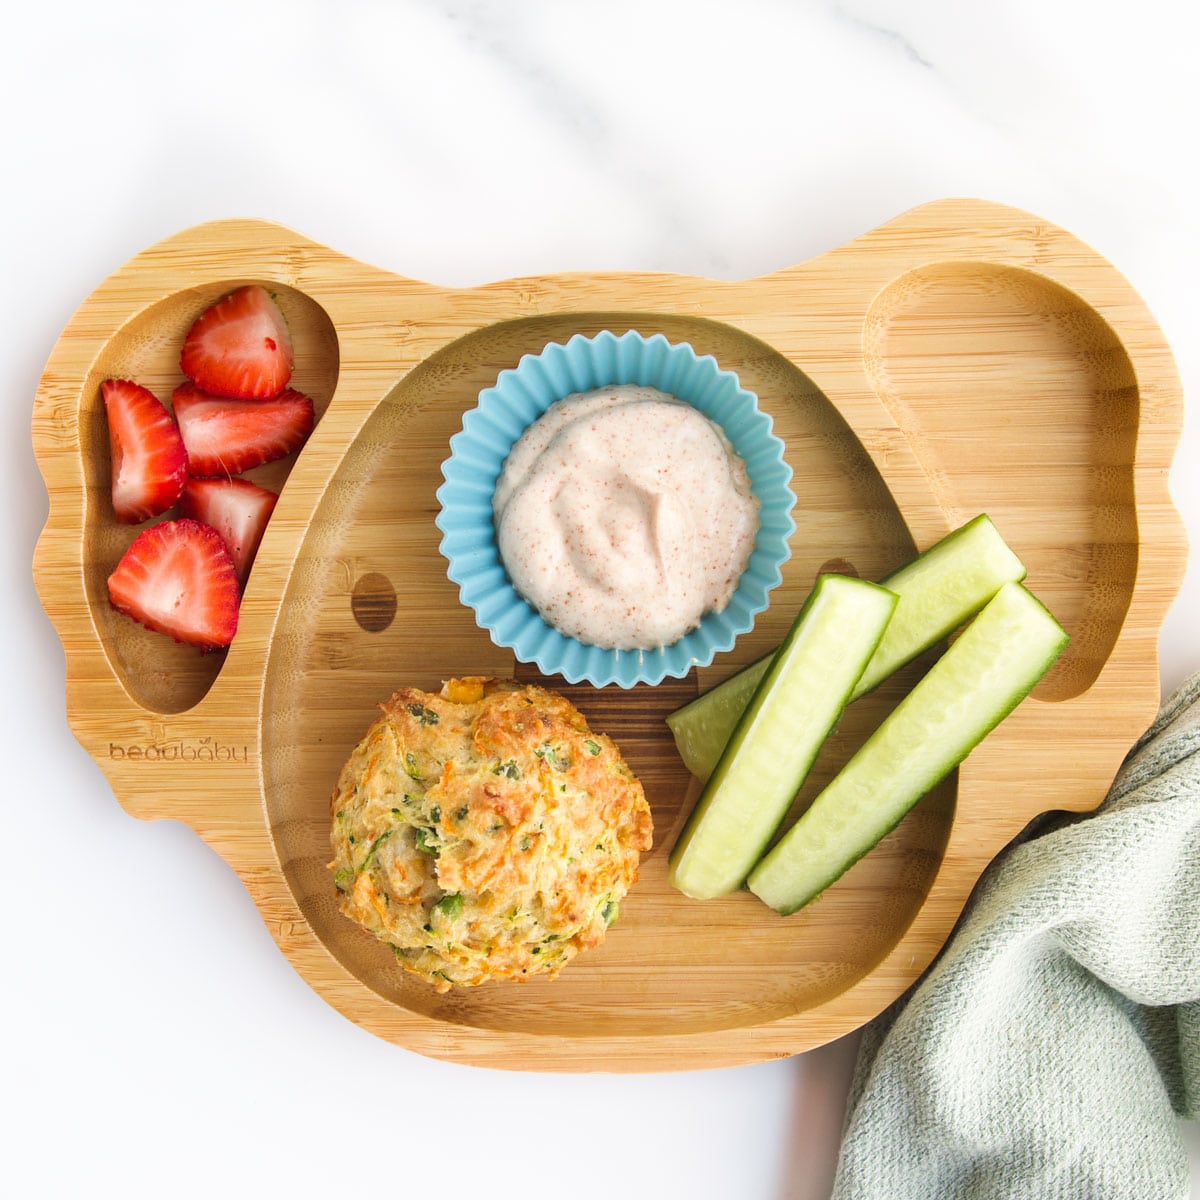
Warm with Melted Butter - Enjoy them warm, split open, and buttered for a comforting snack.
Cold in Lunch Boxes: Pack as a satisfying snack or sandwich replacement.
Soup Side Kick: Serve as a dipper alongside a bowl of soup.
Breakfast Muffin: Start your day by pairing it with breakfast favourites such as egg or avocado.
More Healthy Muffin Recipes

Looking for more healthy kid recipes?Sign up for my free recipe newsletter to get new family friendly recipes in your inbox each week! Find me sharing more kid-friendly inspiration on Pinterest and Instagram.

Vegetable Savoury Muffins
Equipment
- 1 12 Hole Muffin Tray
Ingredients
- 1 medium (210g) Zucchini ,grated
- 1 medium (110g) Carrot ,grated
- ¼ cup (30g) Frozen Peas
- ¼ cup (30g) Frozen Corn
- 1 ⅓ cup (125g) Cheddar Cheese ,grated
- ½ Cup (125ml) Milk
- ¼ cup (60g) Plain Greek Yoghurt
- ¼ cup (60ml) Olive Oil
- 2 Eggs
- 3 tablespoon Chopped Parsley
- 2 cups (250g) Plain Wholemeal Flour *note 1
- 2 tsp Baking Powder
- ½ teaspoon Salt *Do not add for baby
Instructions
- Preheat oven to 180C/ 160C (Fan)/ 350F
- Place the zucchini and carrot onto a clean dish towel and wrap it around the vegetables. Squeeze all the juice out. *note 2
- Place the zucchini and carrots into a large mixing bowl along with the peas and sweetcorn. Add the cheese, milk, yogurt, olive oil, egg and parsley. Stir until combined.
- Mix the flour and baking powder together and then slowly add to the wet ingredients. Fold in gently, until just combined. *note 3
- Spray a 12 hole muffin tray with oil or grease with butter. Spoon the mixture, equally, between the 12 muffin sections. Bake for 20-25 mins. *note 4
Video
Recipe Notes
- I used wholemeal plain flour (white whole-wheat). You can replace it with all-purpose (plain) flour or a mix of both.
- Save the juice! Add it to smoothies or pasta sauces etc.
- Don't be tempted to over-stir the mixture. The mixture should be lumpy, thick and looking very messy. It should only take around 10 strokes with your wooden spoon.
- Every oven is different, so while you should still follow the bake time in this recipe, use a skewer to test your muffins a couple of minutes before the end of the bake time. Your skewer will come out clean if they are ready.
- Original Publication: Jan 2018
- Updated: Aug 2023 (Incorporating reader feedback and retesting)
- Changes Made: Added salt and parsley for enhanced flavour. Reduced baking powder from 3tsp to 2tsp to address metallic taste feedback.


Shivon says
This recipe is great! Made 24 mini muffins and a few big ones for myself (adding seasoning on mine). So yummy and quick to make!
Amy says
Thanks Shivon, I'm glad you enjoyed them 🙂
Caroline says
These tasted great!! I halved the recipe and used grated zucchini and carrot, celery, peas, some sun dried tomatoes, small tin of salmon drained and some celery pesto that I had left over, along with some salt and pepper.
I did them in the air fryer for 11 minutes and they were amazing. Super tasty
Amy says
Thanks Caroline, thanks for sharing the air fryer time too 🙂
withsesame1 says
I'm excited to try this recipe. Which of the following flours would be best to use as a substitute? Oat, Coconut or Almond flours?
Amy says
I haven't tested any other flours so can't say. I'd probably go with oat.
Tori says
Hello!
With the grated zucchini and carrot, is the measurements done before or after squeezing liquid out?
Thanks
Amy says
Before 🙂
Jasmine says
Ok so honestly, I was not a huge fan of the taste, Just be sure to manage your taste expectations. The point here is health over taste in my opinion.
With that said, my daughter liked them. She was definitely skeptical at first, but ended up asking for another. My goal was to find a muffin recipe that is low in sugar, incorporates lots of veggies, and is good enough to win my 5 yo daughter over. This recipe checks those boxes, so I am happy.
Side note: I was able to get the veggies very dry by putting them in a plastic gallon bag, squeezing them to one corner, poking a bunch of tiny holes in the bag with a knife, and squeezing for dear life over the sink until I was satisfied. For a visual, imagine piping icing from a bag.
Ian says
They came out well. I just used peeled courgette and carrot. Peeled courgette so no green bits in it. Salt on the grated veg will draw moisture out
Amy says
Glad you enjoyed them Ian 🙂
Reana says
I loved this recipe, I am trying to pack healthier lunches for myself, and making these in advance definitely helps. Per the suggestion, I did add seasonings since I am not a child, declicous! I do have a question though, what is the purpose of the yogurt? I also subbed non-dairy almond yogurt in mine and they still came out great.
Amy says
Thank you! I used the yogurt to replace some of the olive oil. 🙂
Shirley says
I made these almost exactly as is for my 16 month old except for slightly less cheese so as to reduce the salt. She really liked them (although she likes all bread-y foods). For me as an adult I found it very bland on first taste but then got used to it. And in any case my opinion is beside the point as they’re for children who obviously need a lot less salt
Amy says
Thanks Shirley, I'm delighted your little one enjoyed them 🙂 Happy New Year!
Audrey says
I just made these and these are SO delicious! I only had leftover grated guyere and cheddar cheese so that’s what I used and they turned out so yummy and moist! No added salt necessary, not bland at all (at least to us!) Thank you for this amazing recipe! Greetings from San Francisco
Amy says
Thank you Audrey for this lovely feedback, I'm so happy you enjoyed them 🙂
Jane Doe says
This was disappointing because it was really bland. Amy did note that the recipe was originally made for BLW and might need an addition of herbs or salt if preferred. I added some salt, but the herbs would've made a huge difference.
My 18 month old wouldn't even try it, and he is usually curious about anything in the bread family. I think he wasn't happy seeing bits of the veggies in it. I'll keep trying other recipes though!
As per another review, it does have a biscuit texture which i liked. I used sharp cheddar and couldn't taste the cheese at all. I think the addition of herbs is definitely a good tip from the chef.
Amy says
I hope you enjoy some of our other recipes, sorry this one wasn't for you.
H K says
Hey, sorry if it’s a silly question.. Do you peel the zucchini before grating it, or leave the skin on?
Amy says
Hi, no need to peel but you can if you prefer 🙂