Ever wonder what to do with those leftover broccoli stems after cooking? Transform them into these super tasty Broccoli Fries, a fantastic snack the whole family will enjoy.
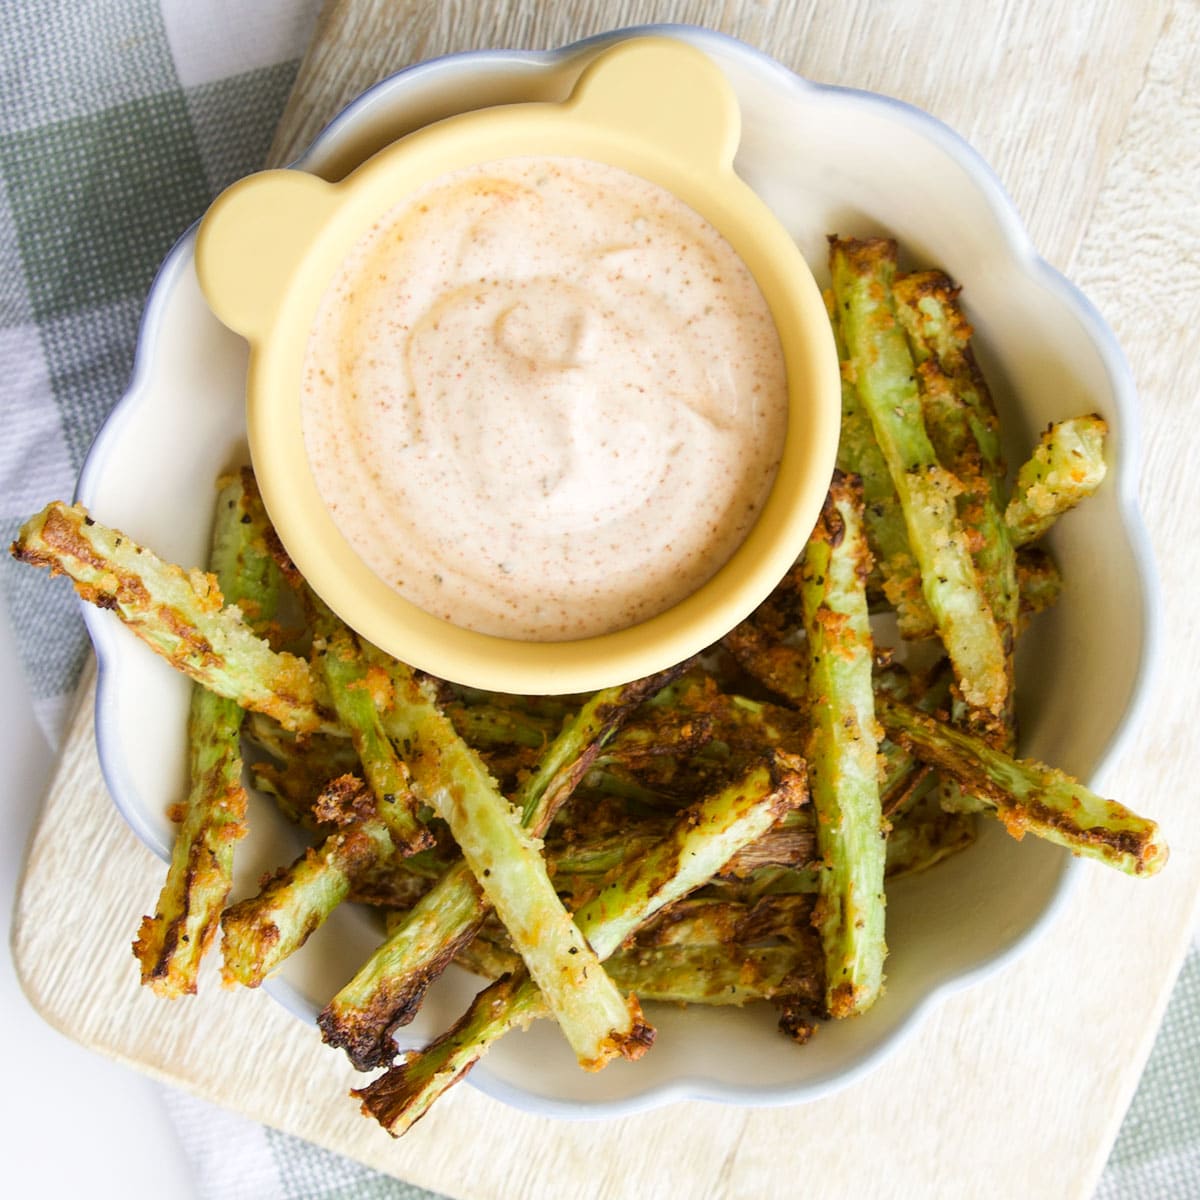
Broccoli is a delicious and nutritious side dish, but many recipes, like oven-roasted broccoli and broccoli pesto, often utilise only the broccoli florets. However, the stalk is equally nutritious and tasty.
While recipes such as broccoli fritters and broccoli tots make use of the whole vegetable, if you find yourself with leftover stalks, these broccoli stem fries are an excellent way to use them.
Jump to:
Reasons to Love this Recipe
- Reduce Food Waste: Transforming often-discarded broccoli stems into delicious fries.
- Kid Appeal: Converting veggies into fries adds a fun twist that appeals to kids.
- Nutritious: The stem is just as nutritious as the florets.
- Easy: Simple ingredients and made in under 15 mins (air fryer version)
Ingredient Information
The full list of ingredients and amounts can be found on the printable recipe card at the bottom of the post. This section gives information on each ingredient and suggests alternatives if required.

- Broccoli Stalks: Collect around 2-4 stalks throughout the week.
- Panko Breadcrumbs: Adds crunch and texture.
- Olive Oil: Adds flavour and helps achieve perfect crispiness when air-frying or roasting.
- Garlic Powder: Optional, for extra flavour.
- Parmesan Cheese: Enhances taste and texture, optional but highly recommended.
- Lemon: Optional, adds brightness and balances flavours with a little zest and juice.
Step-by-Step Instructions (with Images)
This section features step-by-step photos for visual reference. The complete recipe can be found by scrolling to the recipe card at the bottom of the post.

- Prepare Broccoli: Slice off any lumps on the broccoli stem and then peel the tough outer skin using a paring knife or vegetable peeler. Cut each stem into fries approx. 0.5 -1cm (0.2-0.4 inch) thick.
- Coat: Drizzle the broccoli stems with oil, then season with garlic powder, salt, and black pepper. Toss to ensure even coating. Add parmesan and panko breadcrumbs and toss again until well coated.
- Arrange: For air fryer broccoli fries arrange the coated broccoli sticks on a single layer in the air fryer basket. If baking, place a wire rack on top of a baking sheet and place the fries on the rack.
- Cook: Cook until golden brown and crispy, around 8 minutes in the air fryer and 15 mins in the oven. Remove, add a little lemon zest and juice and serve straight away.

Top Tips
- Finely grate the parmesan: Use a microplane or fine grater to finely grate the parmesan. This ensures it coats the fries evenly. You can also choose to buy freshly grated Parmesan but avoid the ambient stuff you find in the pasta aisle. It won't be the same.
- Don't overcrowd: Arrange your fries in a single layer with space around each one on the baking sheet or air fryer basket. This helps them crisp up evenly instead of steaming.
- Extra Crispiness: If you are baking, a wire rack will allow airflow underneath to help with crispiness. If you do not have one you should flip your fries halfway through baking for even crispness on both sides
Recipe FAQs
Broccoli fries can be introduced to babies once they have started solids and are developmentally ready, typically around 6 months old. However, there are a few considerations to keep in mind.
- Do not add any salt and to further reduce sodium levels, skip the Parmesan and breadcrumbs.
- Ensure the broccoli is cooked thoroughly until soft enough to be easily squished between your thumb and finger.
- As with all new foods, create a safe eating environment and closely supervise your baby during mealtime.
Not personalised advice - for informational purposes only. Consult with your paediatrician regarding the introduction of solid foods and any potential allergy risks for your baby.
Just as you would with regular french fries. Pair them with steak, chicken or fish to add a nutritious twist to your meal.
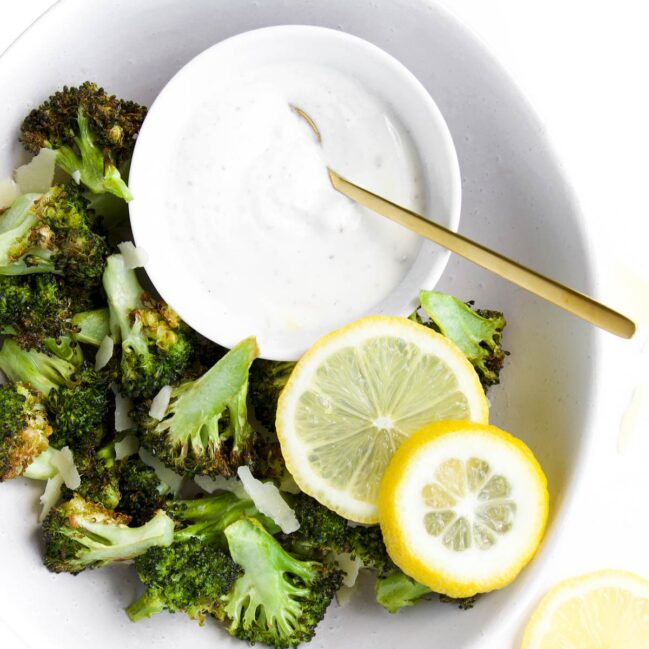
Alternatively let the broccoli fries shine as a standalone snack, accompanied by your favourite dip. Consider serving them with a zesty lemon yogurt dip for a refreshing flavour combination.
Broccoli fries are best enjoyed immediately after cooking as they tend to lose their crispiness and texture quickly, becoming limp when stored.
However, if you need to prepare them in advance on the same day, you can partially prepare them by peeling, cutting into fries, and coating them in oil until you're ready to serve. Once ready to cook, coat them with the remaining ingredients and follow the cooking instructions as directed for the freshest results.

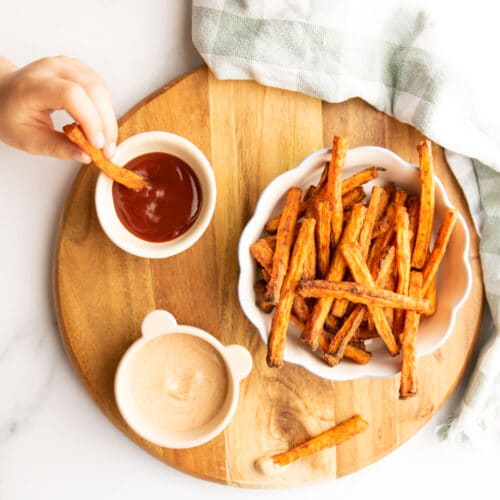
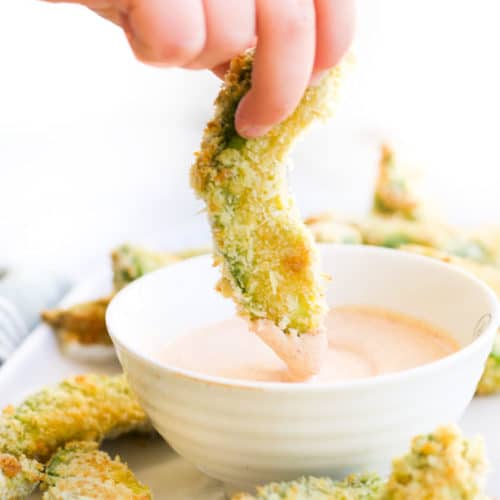
More Veggie Fries
Looking for more healthy kid recipes?Sign up for my free recipe newsletter to get new family friendly recipes in your inbox each week! Find me sharing more kid-friendly inspiration on Pinterest and Instagram.

Broccoli Fries
Equipment
- 1 Air Fryer (or oven)
Ingredients
- 2-4 broccoli stalks (stems) Depending on size, aim for around 400g (14oz) before peeling and slicing which should yield approx. 225g (8oz) peeled and prepared.
- 2 teaspoon olive oil
- ¼ teaspoon garlic powder
- ¼ teaspoon salt Skip if serving to baby/young child
- ¼ teaspoon pepper
- 1 tablespoon parmesan cheese
- 1 tablespoon panko breadcrumbs
- ¼ lemon, zest and juice of
Instructions
- Slice off any lumps on the broccoli stem and then peel the tough outer skin using a paring knife or vegetable peeler. Cut each stem into french fries sized pieces
- Add the broccoli stem fries to a mixing bowl and add the oil, garlic powder, salt and pepper. Toss to full coat. Add the Parmesan and panko breadcrumbs and toss again until well coated.
Air Fryer
- Place the broccoli stalk fries in a single layer in the air fryer basket.
- Cook at 200C / 400F for 8-10 minutes, until golden brown and crispy. Remove from the basket and add the lemon zest and juice to serve.
Oven Baked
- Preheat oven to 200c/400f and line a baking sheet with parchment paper. Top with a wire rack and place fries on the rack, in a single layer, with space around each one.
- Bake for 15 or until golden and crispy


Leave a Comment