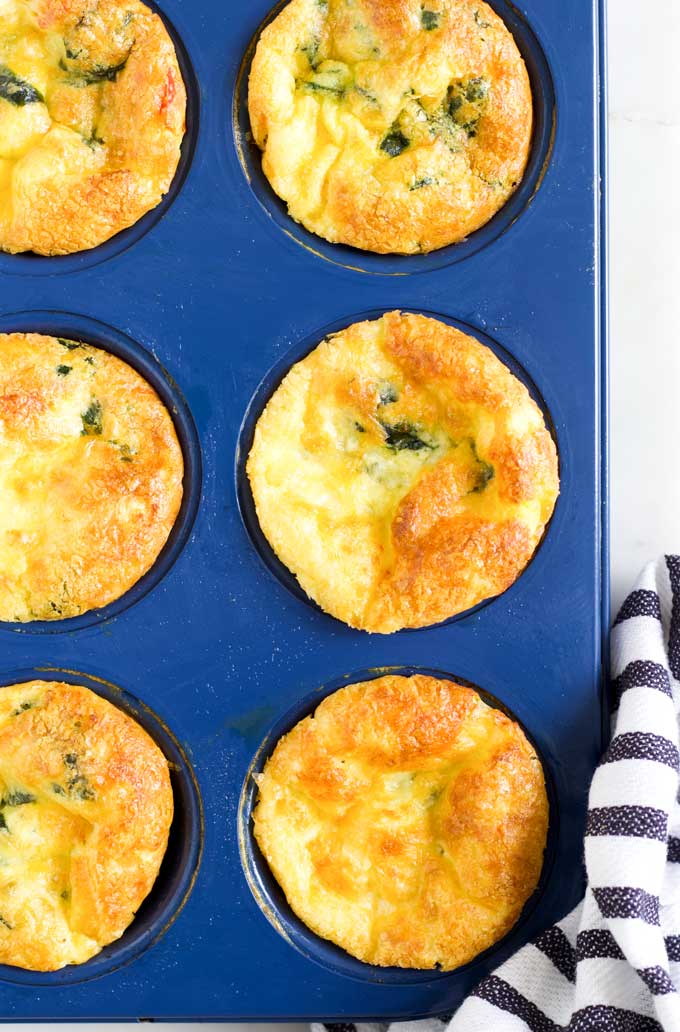
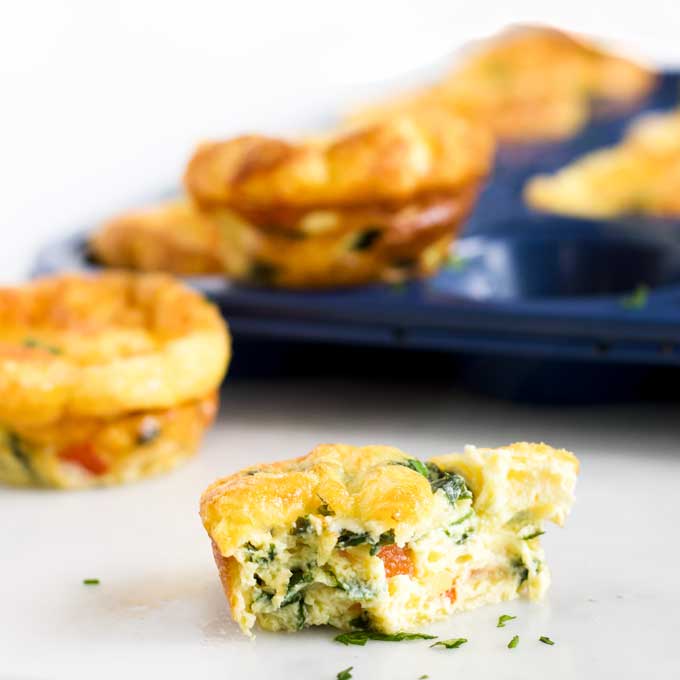
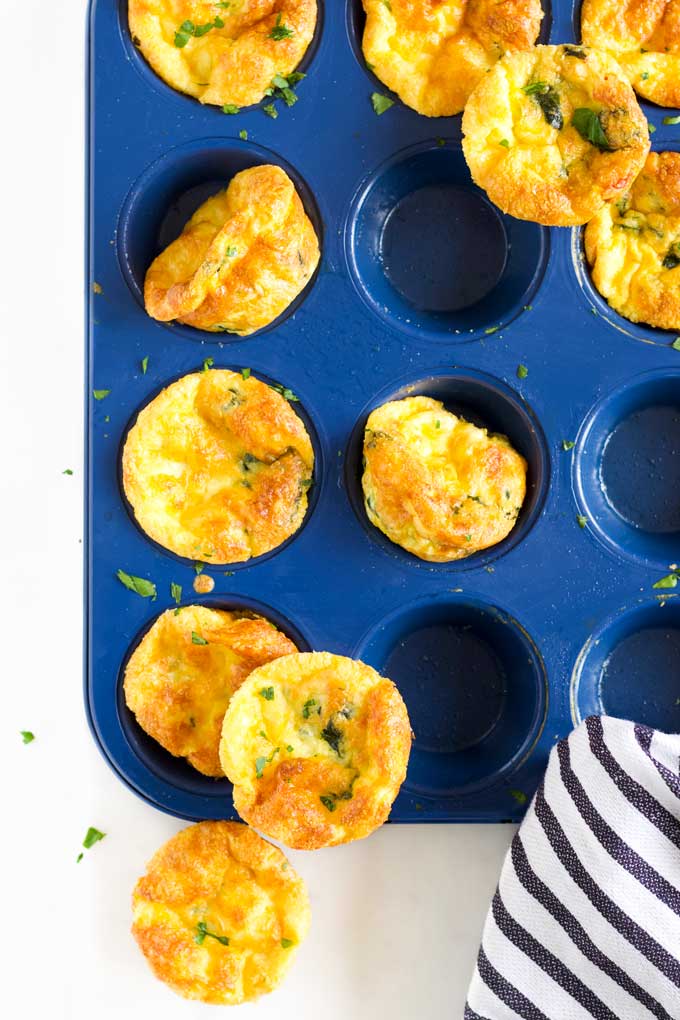
These mini crustless quiches are great for breakfast, brunch or for adding to the lunchbox. They freeze well making them perfect for meal prepping.
Why Mini Crustless Quiches are Great for Families
- Customizable: Switch up the veggies, cheese and add-ins to suit taste or what you have available.
- Easy to Make: Get the kids to help!
- Store Well: Make a batch and freeze for a quick and easy breakfast or lunch option.
- Lunchbox Friendly: If you are looking for different lunchbox ideas then this recipe is perfect
How to Make Mini Crustless Quiches
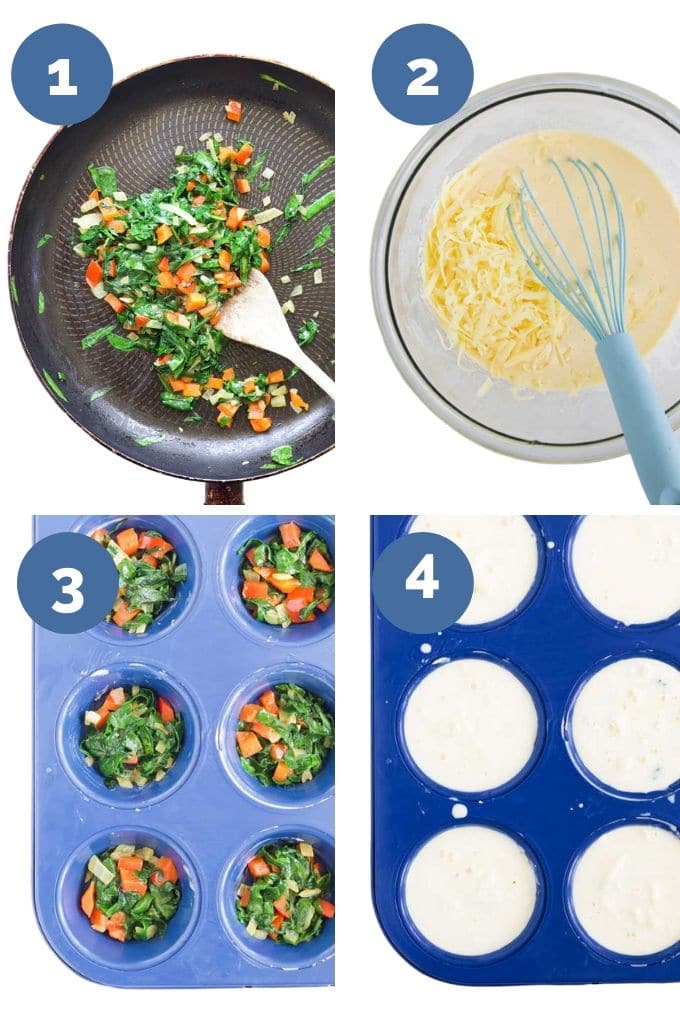
- Saute the vegetables until softened.
- Whisk together the eggs and cream and stir through the cheese.
- Generously grease a muffin tray and divide the sauteed vegetables between the cups.
- Fill each muffin cup to the top with the egg/cream mixture.
- Bake for 25 minutes, until set and golden. Allow to cool, then use a butter knife to loosen the outside of the muffins and remove from tray.
Tips to Prevent Sticking
- Generously Grease - These crustless quiches do like to stick to the pan so it is important that you generously grease your muffin pan before adding the vegetables and egg mixture.
- Allow Cooling Time - After cooking you should allow the quiches to cool for 10 minutes before removing them. If they are hot from the oven they are much more likely to cling to the pan. Run a butter knife or spatula around the inside walls of the muffin holes to help loosen them if needed.
- Silicone Muffin Trays are fantastic for this recipe, the quiches pop out easily.
- Silicone Muffin Cases are also a good option.
Variations
- Veggies: You can easily mix and match the veggies to suit what you have available or to taste. Although not strictly necessary, I do prefer to saute the vegetables to soften, and allow them to release any juices, before adding to the egg mixture. For harder vegetables (such as carrot, sweet potato etc) you would need to properly cook before adding to the mixture.
- Cheese: Switch out the Cheddar with a different cheese or cheese mix. Why not try Monterey Jack, Swiss, Tasty, Mozzarella Feta or Parmesan.
- Extra Add-Ins: Try adding some freshly chopped herbs, dried herbs, bacon, or chopped ham.
Making Mini Crustless Quiches for a Baby
- You can make these crustless quiches in a mini muffin tray, the perfect size for little hands!
- Make sure you finely chop and soften all the vegetables you add to the quiches.
- To reduce sodium levels you can omit or reduce the amount of cheese used. You may wish to add some freshly chopped herbs or a pinch or two of dried herbs to add more flavour.
Lighten them Up
- Replace the cream with milk
- Reduce the cheese.
Storage and Reheating Instructions
- Refrigerate: Allow the quiches to cool completely, then place them in an airtight container in the refrigerator for up to 3 days.
- Freeze: Allow the quiches to cool completely, then individually wrap them in plastic wrap. Place them in a ziptop bag or airtight container and freeze for up to 3 months. Thaw overnight in the refrigerator or reheat directly from frozen.
- Re-heating: Unwrap the quiches (if wrapped), and place on a microwave-safe plate. Reheat gently in the microwave on medium power until hot through to the centre, about 30 seconds or 1 to 2 minutes (from frozen). The exact cook time will vary depending on your microwave’s power. The first one may be a bit of an experiment.
You May Also Like
Looking for more healthy kid recipes?Sign up for my free recipe newsletter to get new family friendly recipes in your inbox each week! Find me sharing more kid-friendly inspiration on Pinterest and Instagram.

Mini Crustless Quiches
Equipment
- Muffin Pan
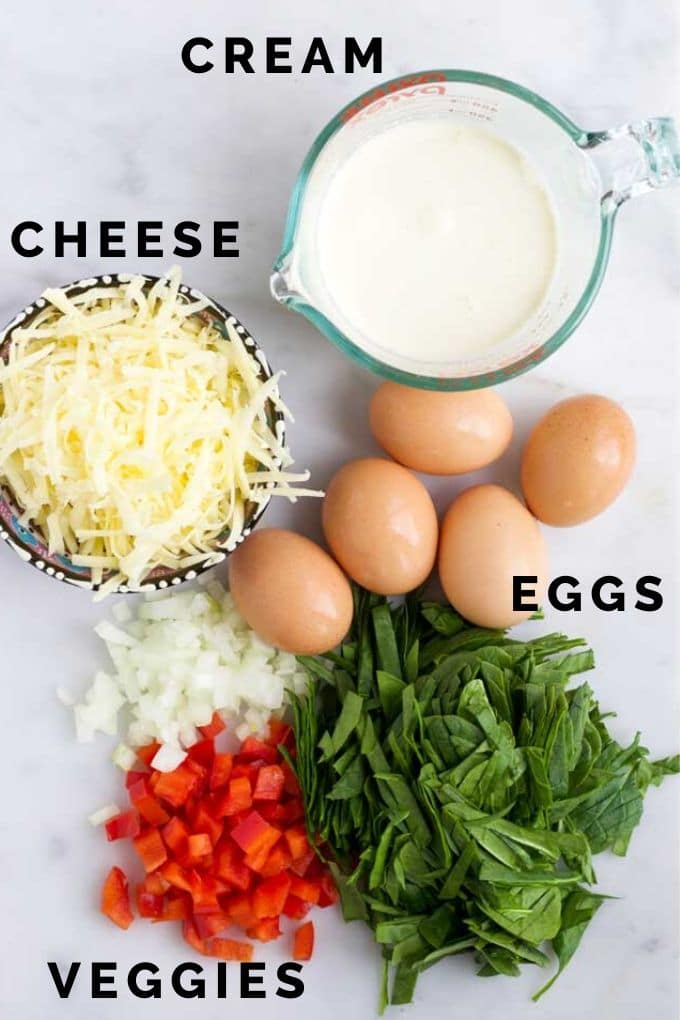
Ingredients
- 1 tablespoon Butter
- ½ Onion (finely chopped)
- ½ Red Bell Pepper (capsicum) (finely chopped)
- 80g (1 ½ packed cups) Baby spinach, chopped
- 100g (1 Cup) Cheddar cheese (grated)
- 5 Eggs
- 300ml (1 ¼ cups) Pouring Cream
Instructions
- Pre heat oven to 180c / 350F / Gas 4
- Melt the butter in a frying pan and fry the onion, over a medium/low heat for two minutes, add the bell pepper and continue to saute one minute. Finally, add the spinach and fry for a further minute.
- Whisk the eggs and cream together and then stir through the cheese.
- Grease a 12 hole muffin tray or fill with greased silicon cases.
- Add the vegetable mixture to the base of each muffin section.
- Pour the egg mixture into each muffin section.
- Bake for 25 mins, until set and golden.
- Allow to cool slightly before removing from tin / case.
Recipe Notes
Nutritional facts
*This post was first published March 2017. It has been updated with new images and recipe information. The only change to the recipe was the addition of bell pepper (capsicum).



Andrea says
These are fantastic! I used unsweetened coconut milk from a can instead of cream or milk since I'm lactose intolerant. Same proportions. The eggy muffins are easy to remove in a silicone muffin pan.
Amy says
Thank you Andrea, good to know that coconut milk worked well in the recipe 🙂
Clare de la Rue says
These were straight forward to make, cooked beautifully, I followed your recipe but can see how different veggies can be added for some variety. My husband and I shared one….totally scrumptious! Our 14 month old granddaughter couldn’t eat them fast enough
Amy says
Thanks Clare 🙂
Andrea says
These were great, as are all of your recipes! I made them as mini-muffins for my baby. They turned out great and he loved them! Very easy for a 11th month old to pick at