
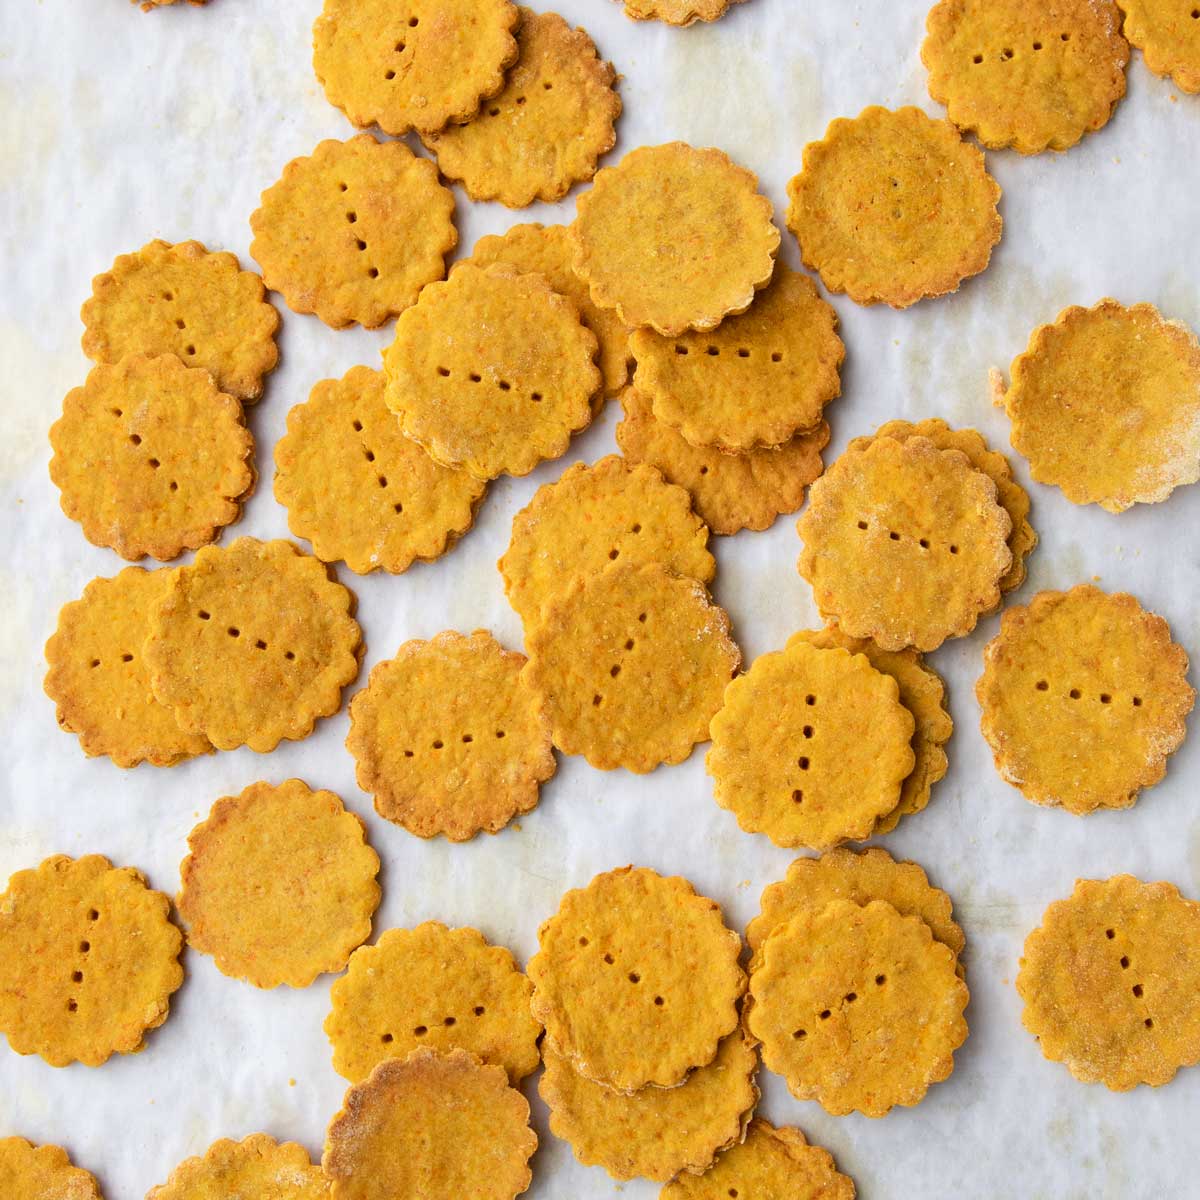
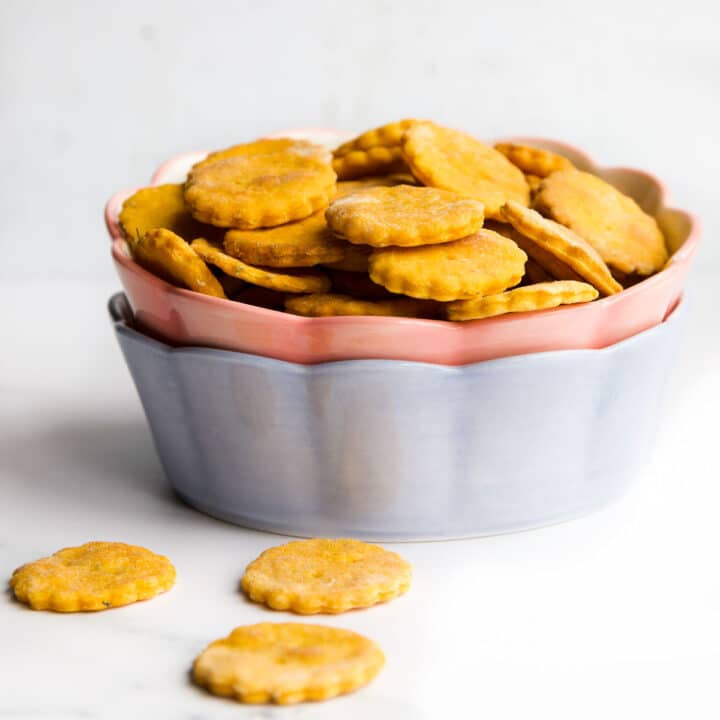
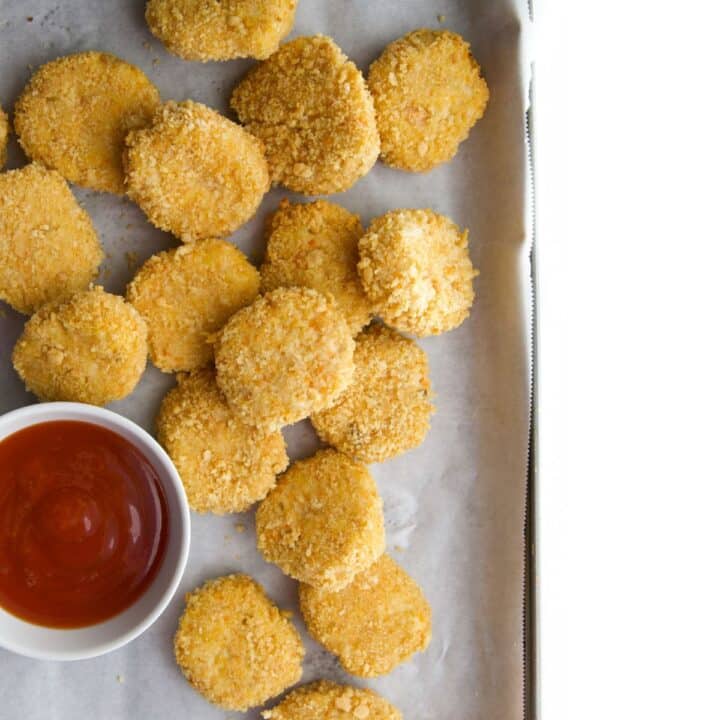
Turn a can of chickpeas into crispy, flavorful Chickpea Crackers. These wholesome crackers provide plant-based protein and make the perfect snack, lunchbox addition, or baby-led weaning finger food.

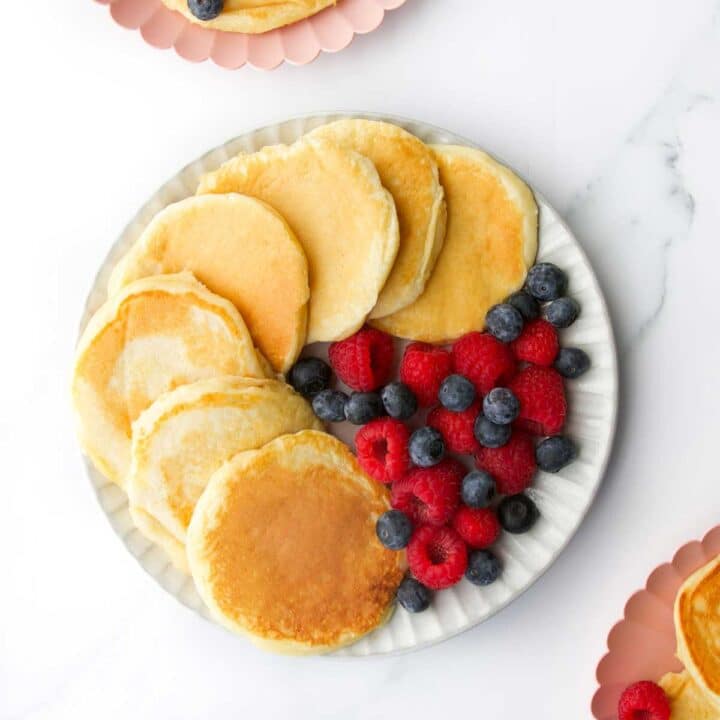
Chickpeas are a favourite ingredient here at Healthy Little Foodies HQ! They're nutritious, budget-friendly, and shelf-stable, making them perfect for whipping up last-minute meals and snacks. This chickpea cracker recipe is the latest addition to our collection of chickpea-based recipes, joining our much-loved chickpea cookies, hummus, chickpea pancakes, baked chickpeas, chickpea patties, sweet potato & chickpea curry, and chicken & chickpea stew.
Jump to:
Reasons to Love This Recipe
- Adaptable: Roll the dough thin for crispier crackers or thick for softer baby-friendly finger sticks.
- Freezer-friendly: Make a double batch and store for later.
- Convenient: Made with basic, store-cupboard ingredients you likely already have.
- Plant-based nutrition: Packed with protein, fiber, and vitamins from chickpeas, oats, and veggies.
Ingredient Information (With Alternative Suggestions)

- Canned Chickpeas: Can be replaced with dried chickpeas-just make sure to soak them beforehand. Use the same amount as the drained weight of canned chickpeas.
- Carrot: Added for colour, sweetness, and nutritional value. You can skip it or could swap it with grated zucchini or spinach (note that this will change the dough's colour and hasn't been tested).
- Rolled Oats: You can replace them with quick oats or oat flour-just be sure to use weight measurements instead of volume.
- Olive Oil: Adds richness, healthy fats, and helps with crispiness. While olive oil provides great flavor, you can use a milder oil if you prefer.
- Garlic Powder & Onion Powder: These add flavour, but feel free to substitute or add additional spices like smoked paprika, cumin, or thyme to suit your taste. Nutritional yeast could also be added to give a more savoury, umami flavor.
- Baking Soda: Helps make the crackers light and crispy.
- Salt: Enhances the overall flavor of the crackers. Adjust to taste and omit if making for babies.
Step-by-Step Instructions (with Images)

- Blend the Oats: Place the oats in a food processor and blend until they reach a flour-like consistency.

- Add Chickpeas: Add the drained chickpeas to the food processor and blend until they're broken down and mixed with the oats.

- Add Carrot, Spices, and Oil: Add the grated carrot, spices, baking powder, and olive oil. Blitz until the mixture is soft and fully combined and forms a smooth dough.

- Roll the Dough Ball: Sprinkle some flour over your work surface. Use a floured rolling pin to roll out the dough until it's about 3mm (⅛ inch) thick.

- Cut the Dough: Use a sharp knife, pizza cutter, or cookie cutter to cut the dough into rectangles, squares, or your preferred shapes.

- Bake: Transfer the uncooked crackers to a parchment-paper-lined baking tray. Add to preheated oven for 25-30 minutes, flipping the crackers and rotating the tray halfway through. Remove from the oven and let cool for 5-10 minutes before serving.
Top Tips
- Rinse and Dry the Chickpeas: Make sure to rinse and thoroughly pat dry the chickpeas before using them. This helps prevent the dough from becoming too wet. If any skins come off while patting dry, remove them (it's not essential, but it helps with texture).
- Remove Excess Moisture from Carrots: Squeeze out any liquid from the grated carrot before adding it to the dough. This prevents the dough from becoming too soft or sticky.
- Dealing with Sticky Dough: If the dough feels too sticky while rolling, sprinkle extra flour onto your work surface and gently work it into the dough. Alternatively, for a gluten-free option, add more gluten free oat flour (or gluten-free flour), a tablespoon at a time.
- Adjust the Thickness: For crispy chickpea crackers, roll the dough thinner. For a softer, chewier texture, roll it thicker.
- Add Docking Holes: To avoid large air bubbles forming while baking, use a fork to poke small holes in the dough.
- Watch the Baking Time: These crackers can burn quickly, especially if rolled thin. Since oven temperatures can vary, keep an eye on them and adjust the baking time as needed.
- Transfer to a rack: Allow the crackers to cool on the baking tray for about 5 minutes before transferring them to a cooling rack. This helps them firm up and prevents them from breaking. Once on the rack, let them cool completely to maintain their crisp texture.
Storage Instructions
- Room Temperature: Store in an airtight container for up to 2 days. Note that the crackers do soften over time.
- Freezer: Place the crackers in a freezer-safe container or bag and freeze for up to 2 months.
Recipe FAQs
Hard, crispy crackers can pose a choking hazard, so if making for babies under 2 years old, be sure to avoid making them too crispy or hard. For babies (6 months+), roll the dough thicker (around ¼ inch or 6mm) for a softer, teething biscuit-like texture.
These crackers should be made without added salt to keep sodium levels low. Always supervise babies while they eat to ensure safety.
For informational purposes only-each baby develops at their own pace. Make informed decisions for your child and consult a professional for personalised advice.
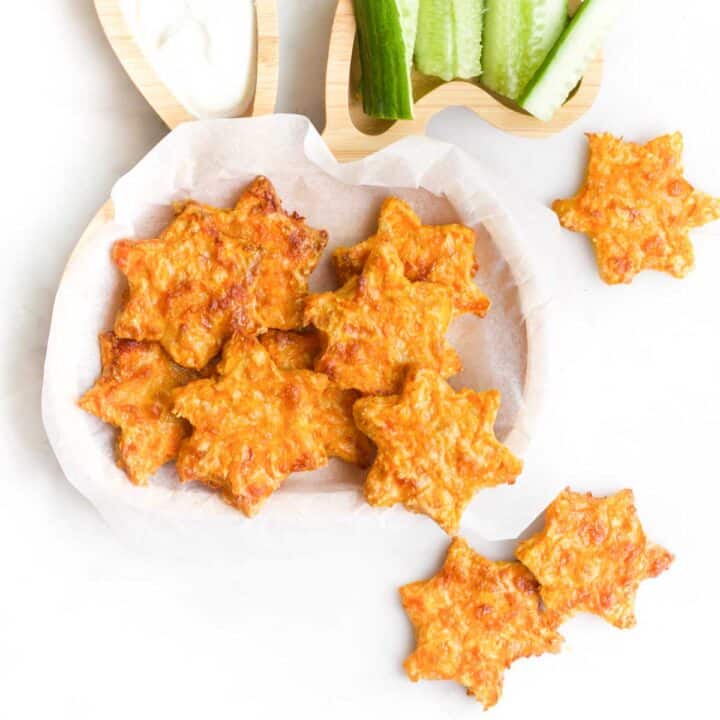
More Cracker & Bite Recipes


Looking for more healthy kid recipes?Sign up for my free recipe newsletter to get new family friendly recipes in your inbox each week! Find me sharing more kid-friendly inspiration on Pinterest and Instagram.
Chickpea Crackers
Equipment
- Food Processor
Ingredients
- 1 small carrot
- ⅓ cup rolled oats
- 1 can chickpeas drained, washed and patted dry.
- ½ teaspoon garlic powder
- ½ teaspoon onion powder
- ¼ teaspoon baking powder
- 2 tablespoon olive oil
- ½ teaspoon salt *do not add if making for a baby
Instructions
- Preheat your oven to 160℃ (fan) / 175℃ / 375℉ and line a large baking sheet with parchment paper.
- Peel and grate the carrot. Place the grated carrot in a clean cheesecloth or dish towel and squeeze out as much liquid as possible.
- Add the oats to a food processor and blend until they resemble flour. Add the drained chickpeas and blend again until fully combined. Next, add the grated carrot, spices, baking powder, and olive oil. Blitz until a soft, smooth dough forms.
- Transfer the dough to a well-floured work surface. If the mixture feels sticky, keep turning and kneading it, allowing it to absorb some flour until it's manageable and easy to roll.
- Roll the dough out to approximately 3mm (⅛ inch) thick. For a crispier cracker, roll it thinner; for a softer, chewier texture, roll it slightly thicker.
- Use a sharp knife, pizza cutter, or small cookie cutter to cut the dough into your desired shapes. (Smaller crackers are ideal for kids and adults, while longer sticks are perfect for baby-led weaning.) Gather any scraps, re-roll, and repeat until all the dough is used.
- Transfer the uncooked crackers to the prepared baking sheet, leaving a little space between each one. Use a fork to poke small holes in each cracker to prevent air pockets from forming.
- Bake for 15 minutes, remove the tray from the oven, flip the crackers, and rotate the tray. Return to the oven and bake for a further 10 -15 minutes.
Video
Recipe Notes
- Cooking times will vary depending on the thickness of the dough and how hot your oven runs. Keep an eye on the crackers as they can burn quickly.
- Crackers are a potential choking hazard for children under 2 years old. For younger children, roll the dough thicker for a softer texture. Please refer to the Recipe FAQ section for more details.
- Storage: If storing for longer than a day, it's best to freeze the crackers as they can soften. They taste great straight from the freezer!
Tiffany
This is a brilliant recipe!!!! So easy to chuck together and came out perfect first time Thanks for sharing.
Amy
Thanks Tiffany, glad you enjoyed them 🙂
Brooke
Hi Amy. Thank you for the tasty recipe. I’ve made a few kids meals from your page now. I have a high powered blender but it struggled with the load so I had to take portions out and blend in a few batches. I still had to add a little bit of water so it would combine well enough and then made it too wet so had to then add flour.I also found I had to increase cooking time because they were still mushy on the inside. But they taste great.
Amrutha
Hi , can i replace canned chick pea with overnights soaked dried ones?
Amy
Hi Amrutha, I haven't tried but I am sure you could. Just make sure they are drained well 🙂
Sarah
I've tried these with canned chickpeas and soaked now and for those asking the question about soaked chickpeas if anything it worked even better than canned! Great recipe, my kids are loving these in their lunchbox. X
Amy
Thank, Sarah. I will have to try them with soaked chickpeas next time. Thanks for the feedback, glad the kids like them 🙂
anna
Hi Amy,
I've made some of these and they have turned out really well, thanks for the recipe! Do they freeze ok?
Thanks Anna
Amy
Excellent! So glad you liked them. Yes, they freeze well. I freeze them and then pop them in my son's lunch box.