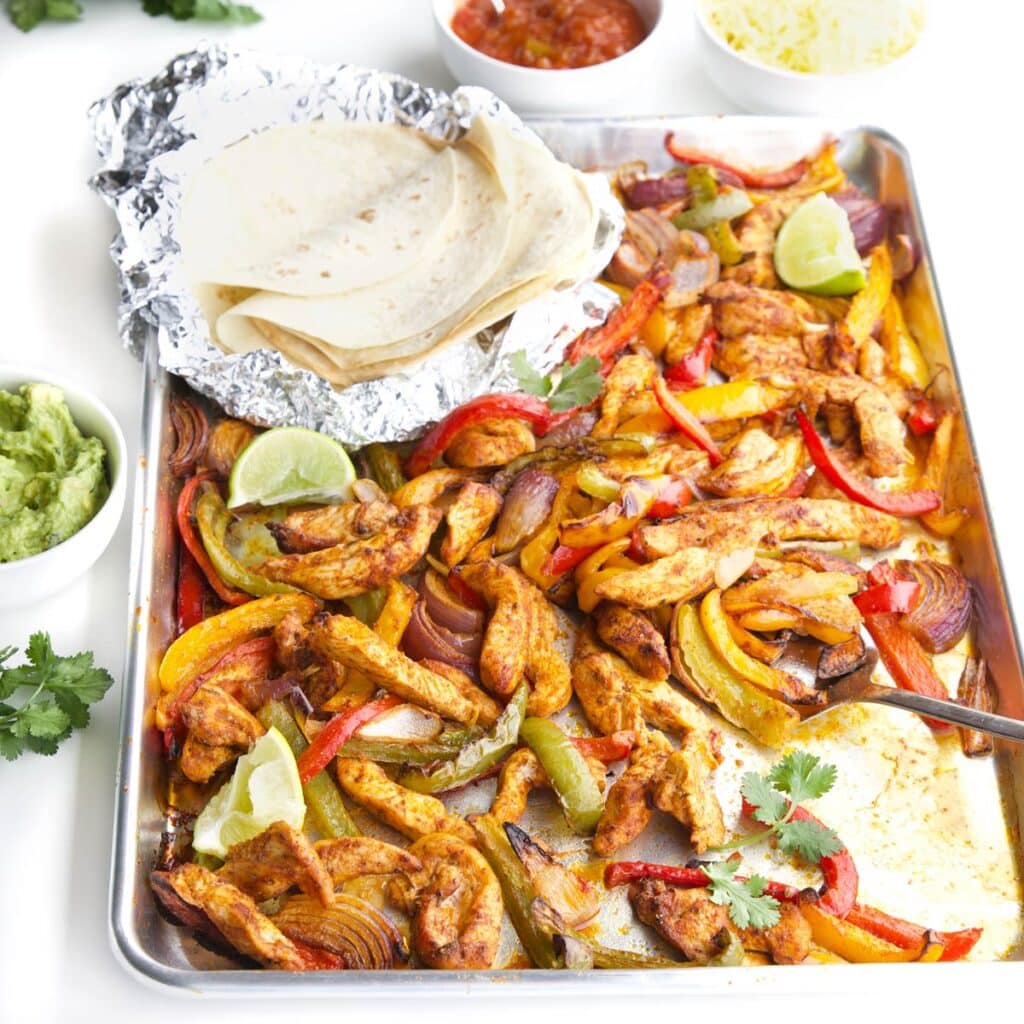
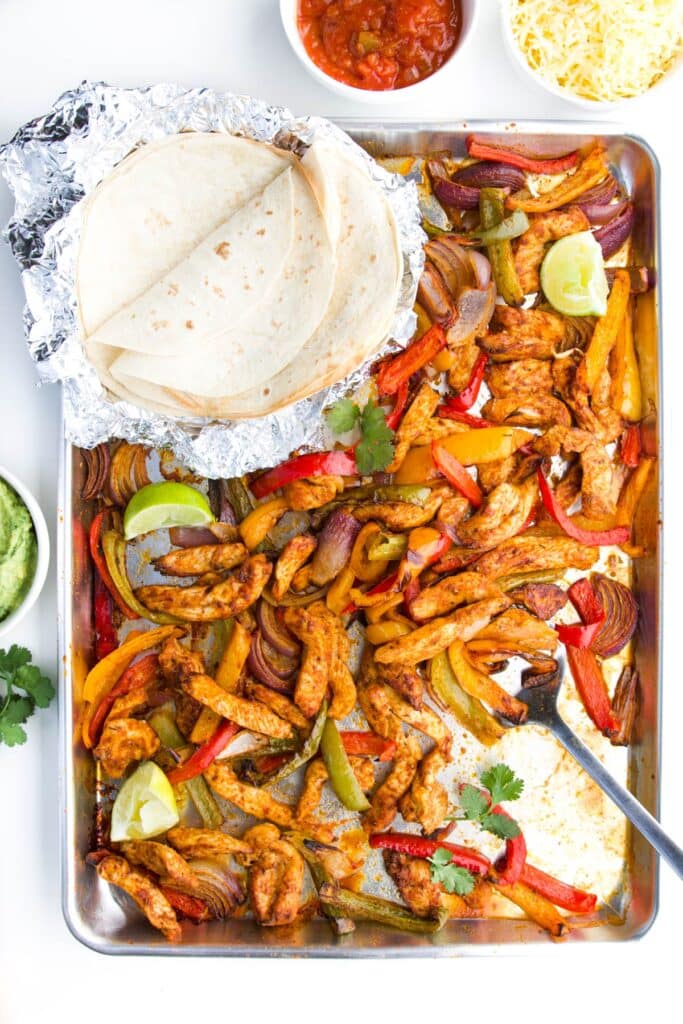
Baked Chicken Fajitas are quick to throw together and require minimal effort. There's no need to slave by the hob, just pop them in the oven and let it do the hard work for you. Colourful. Tasty. Easy.
Reasons to Love This Dish
- CAN BE PREPPED IN ADVANCE
Dinner time is usually a busy/crazy time as a parent. You might be trying to do things one-handed, as you juggle hungry toddlers/babies, or you may be rushing in from work/after-school sports. Regardless of the reason, you want dinner to be easy.
The beauty of this meal is that you can prep it in the morning or even the night before. Then all that’s left to do is pop everything on a sheet pan and bake.
Bonus - allowing the chicken and veg to sit in the marinade will really enhance the flavours. - FAMILY-FRIENDLY
This is a great meal to serve with a range of toppings. Usually, there is something on the table that every family member will like, making mealtime more enjoyable and stress-free. - HOMEMADE SEASONING
You can of course use a packet of seasoning but making your own is super easy and gives you control over what goes in it. Often packet seasonings are high in salt and sugar, which should be avoided if serving to a baby/toddler. - CUSTOMIZABLE
Onion and bell pepper are classic fajita vegetables. However, if you wish, you can switch them out with mushrooms, asparagus, zucchini, broccoli etc. If you choose to use root vegetables you will need to chop small and adjust the cooking time.
Spices can also be adjusted to suit taste and salt can be skipped if cooking for a young child.
Watch How to Make It
Ingredient Information
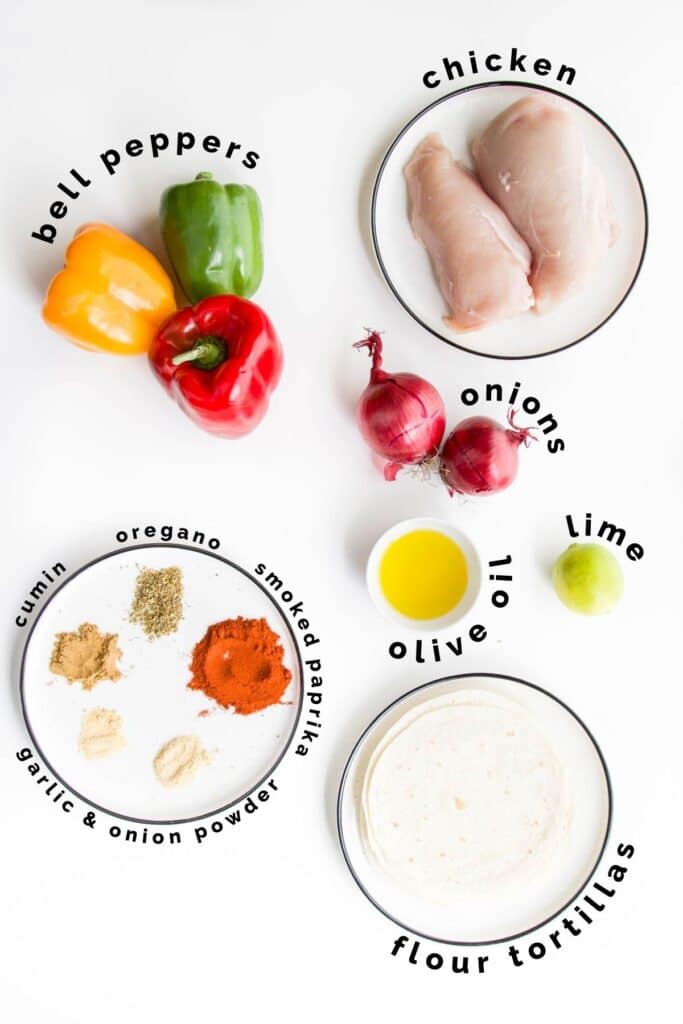
- Chicken Breast - Can be replaced with boneless chicken thighs.
- Bell Peppers (Capsicum) - Use whichever colours you like but adding a variety means your dish is lovely and colourful. Red, orange and yellow peppers are all sweeter than green, which are less ripe.
- Onion- Use red, brown or white.
- Spices - It is really easy to make your own fajita seasoning and the spices can be adjusted to suit your taste. Smoked paprika has always been a favourite spice for both my children and provides a lovely smoky flavour. If replaced with paprika the flavour profile will be very different.
- Olive Oil - Used to coat the chicken and allow the spices to stick. You can replace it with oil of choice
- Lime - Squeeze on the chicken to enhance flavour. Skip if you wish.
- Tortillas - Flour or corn
Process Shots and Cooking Tips
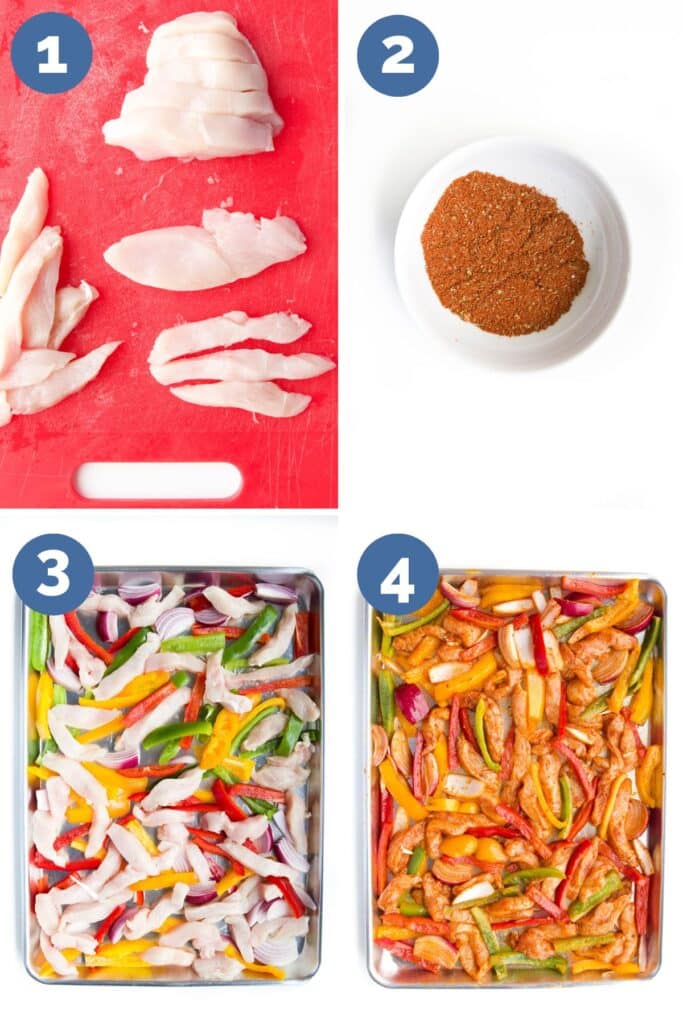
- CUTTING THE CHICKEN - Slice the chicken breast into slices around 1.5 cm (½ inch) thick. Then take each slice and halve or third (depending on the thickness of the breast) lengthwise into longer, thinner strips.
- SPICE MIX - This is just a case of adding all the spices to a bowl and mixing until combined.
- AVOID OVERCROWDING - It is very important that you give the chicken and vegetables space on your sheet pan (baking tray). Overcrowding will result in the food steaming and you won’t get that nice caramelisation that dry heat gives. Use the largest sheet pan you can for this recipe, or split it into two smaller pans. For this recipe, I used a pan 33cmx45cm (13x18inch), which allowed me to space out the food in one layer.
- COAT WELL - Pour the oil over the chicken and vegetables and then sprinkle with the spice mix. Use your hands to ensure the food is coated well in the spices and then spread it out in one layer.
Serving Suggestions
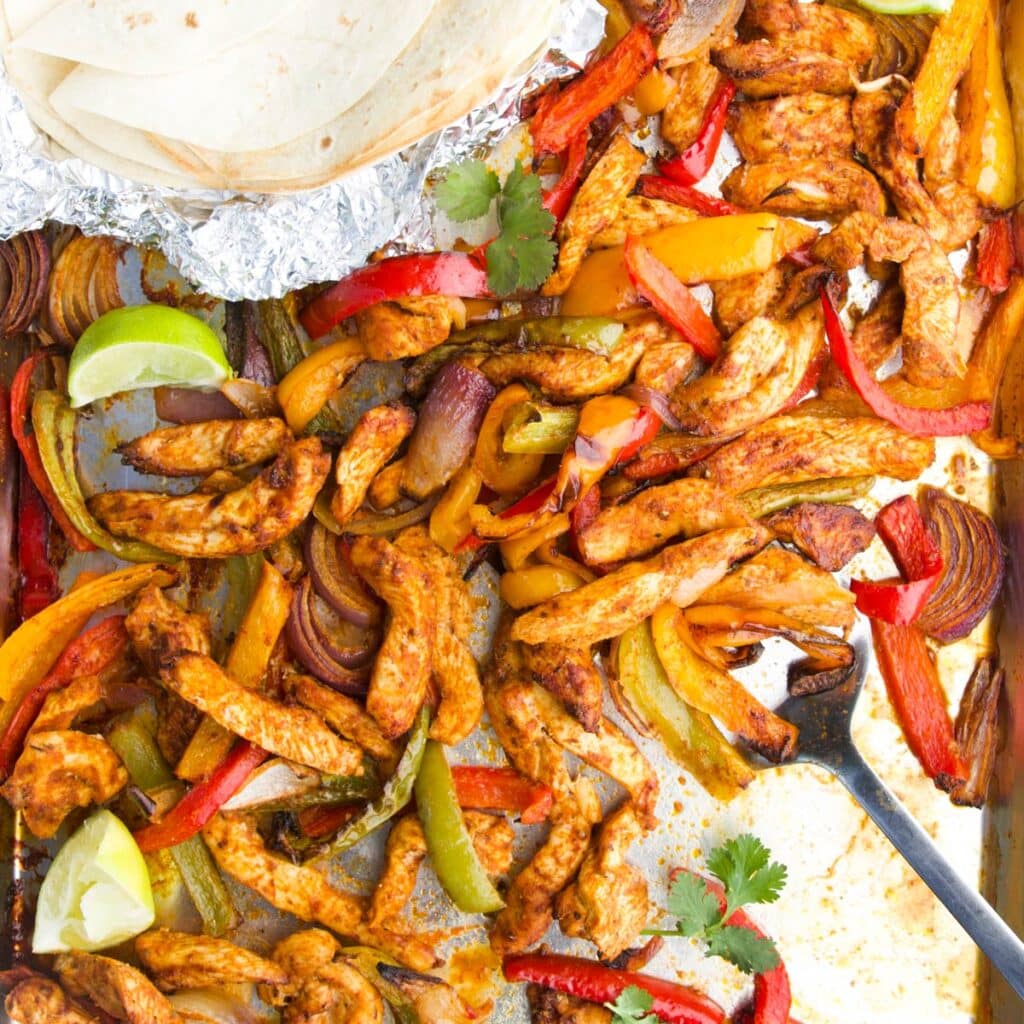
I love to serve baked chicken fajitas "family style", allowing each family member to assemble their own perfect fajita combination. Serve with flour tortillas and a selection of the below condiments/toppings...
- Guacamole or sliced avocado
- Sour cream or yogurt
- Salsa or chopped tomatoes
- Corn
- Lime Wedges
- Shredded Cheese (because kids love cheese!)
- Jalapenos
Storage and Reheating Instructions
If you have leftover baked chicken fajitas (we rarely do), store them in an airtight container and refrigerate for up to two days.
Best reheated on the stovetop. Heat until piping hot throughout. You can use the microwave but I find that the peppers (capsicum) become overly soft and the chicken texture is less desirable
You May Also Like...
Looking for more healthy kid recipes?Sign up for my free recipe newsletter to get new family friendly recipes in your inbox each week! Find me sharing more kid-friendly inspiration on Pinterest and Instagram.

Baked Chicken Fajitas
Equipment
- 1 Large Baking Tray or 2 Smaller Trays
Ingredients
Seasoning
- ½ teaspoon Onion Powder
- ¼ teaspoon Garlic Powder
- 1 tablespoon Sweet Smoked Paprika
- 1½ teaspoon Ground Cumin
- 1 teaspoon Dried Oregano
- 1 teaspoon Salt (Optional: Do not add if making for a baby/toddler)
Fajitas
- 500g (1lb) Chicken Breasts ,cut into strips
- 3 Bell peppers (Capsicums) ,de-seeded and sliced (red, yellow & green)
- 2 Onions , halved and then cut into wedges
- 2 tablespoons Olive Oil
To Serve
- 1 Lime
- 8-10 Small Flour Tortillas
- Optional toppings such as guacamole, sour cream, salsa and grated cheese
Instructions
- Pre heat oven to 200C (400F)
Seasoning
- Add all the spices to a small mixing bowl and stir until fully mixed together.
Fajitas
- Add the chicken and vegetable to a large baking sheet (or two smaller baking sheets) SEE NOTE 1
- Drizzle the oil over the chicken and vegetables and then sprinkle with the seasoning mix. Use your hands to toss the food until everything is well coated with the oil and seasoning.
- Bake in the oven for around 20-25 mins, until the chicken is cooked through and the vegetables are tender.
- Wrap tortillas in foil and place in the oven, to warm, in the last 8 minutes.
- Squeeze lime juice over the top of the chicken fajitas and toss to coat. Spoon the chicken and vegetables onto a tortilla, along with desired toppings, and enjoy.
Video
Recipe Notes
- Don't overcrowd the baking sheet. If there is too much on your tray then it will steam rather than roast. I used a tray 33cmx45cm (13x18inch). If you do not have a large enough baking tray then split the mixture between two trays.
Nutritional facts
*First published April 2014, the post has been updated to include a video, process shots and an updated recipe.


Lisa Woods says
So easy and so good!
Amy says
Thanks Lisa 🙂